Amazon S3 (Simple Storage Service) is a cloud-based object storage service provided by Amazon Web Services (AWS). It allows users to store and retrieve files, including images, videos, documents, and other types of data, in a highly scalable and reliable manner.
Amazon S3 Use cases:
- Backup and storage
- Disaster Recovery
- Archive
- Hybrid Cloud storage
- Application hosting
- Media hosting
- Data lakes & big data analytics
- Software delivery
- Static website
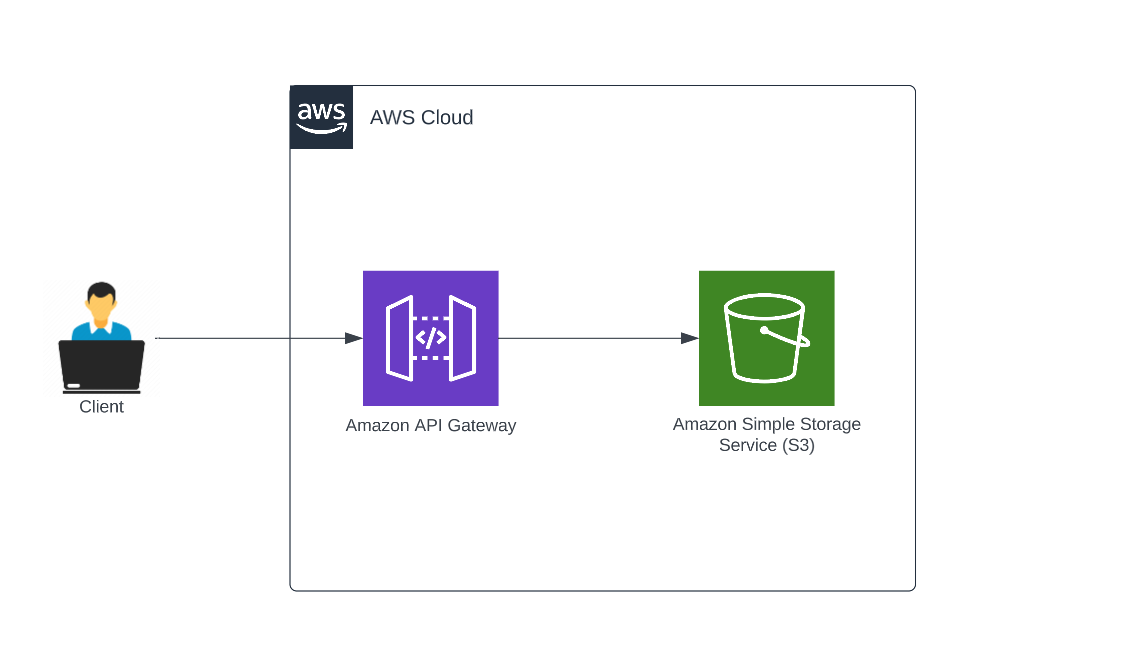
Amazon API Gateway is a fully managed service that makes it easy for developers to create, publish, maintain, monitor, and secure APIs (Application Programming Interfaces) at any scale. With API Gateway, you can create RESTful APIs that can integrate with AWS services or any HTTP endpoint.
To build a file upload API to AWS S3 bucket, you can follow these general steps:
Step 1:
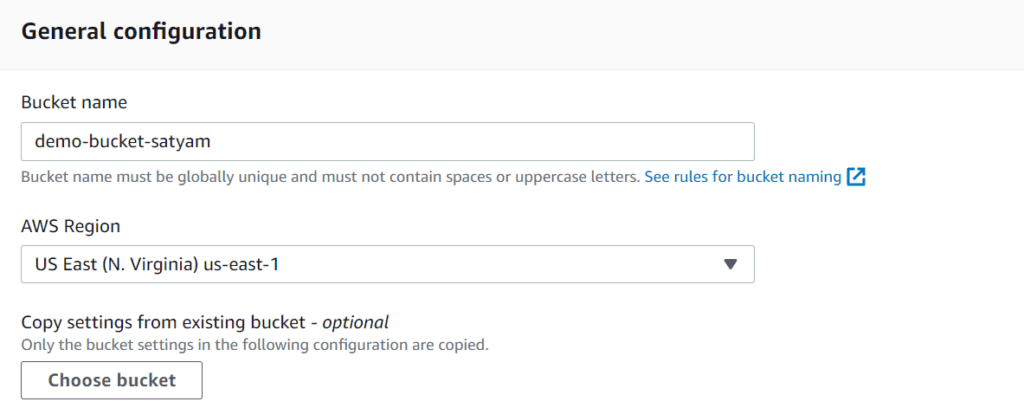
Open the AWS Management Console and navigate to the Amazon S3

Create an AWS S3 bucket where the uploaded files will be stored. You can do this using the AWS Management Console or by using an AWS SDK or AWS CLI.
Step 2:
Create an IAM role for the API Gateway with the required permissions to access the S3 bucket. The role should have access to write objects to the S3 bucket.
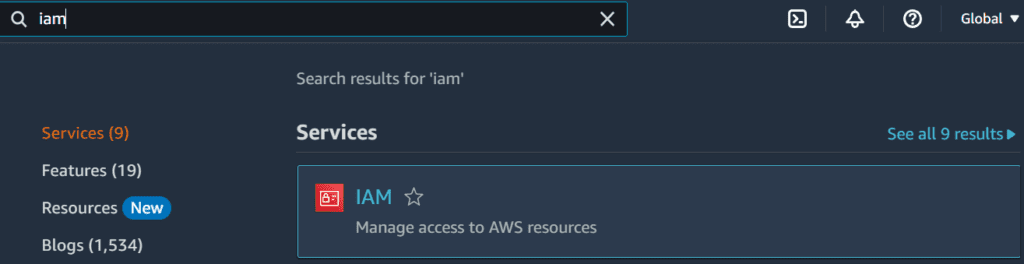
Open the AWS Management Console and navigate to the IAM
Go to Roles and click Create new role
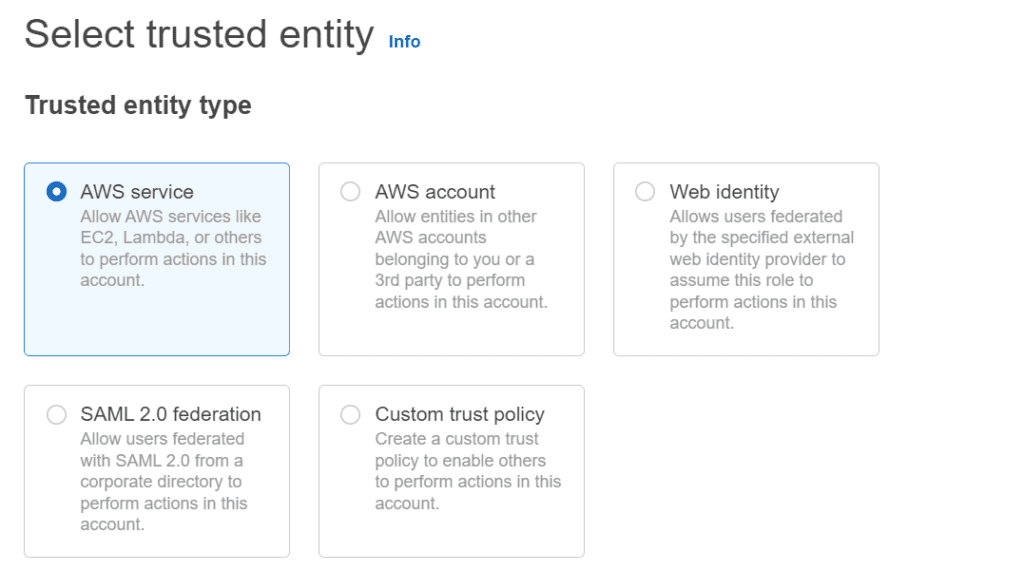
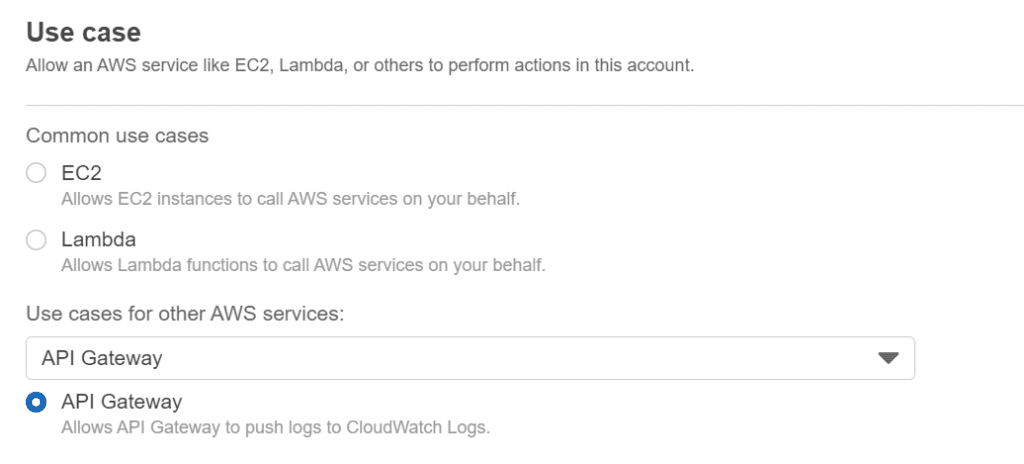
Select API Gateway and click Next
Review permissions and click Next
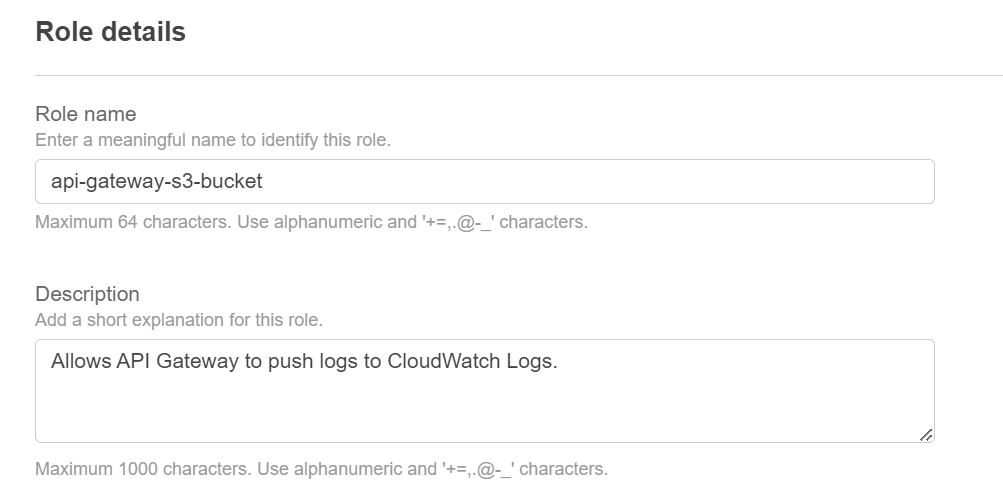
Enter a Role name and click Create Role
Step 3:
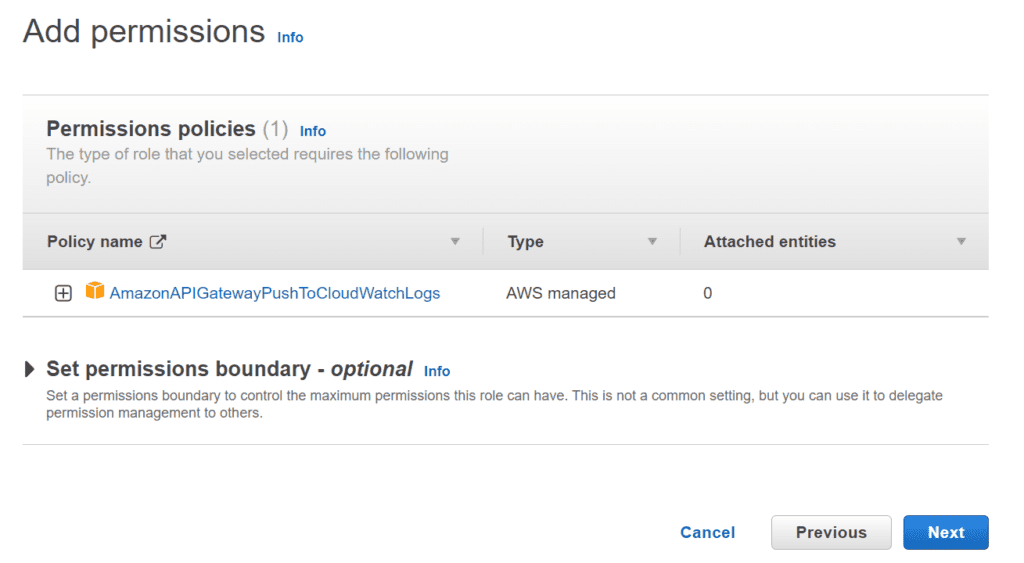
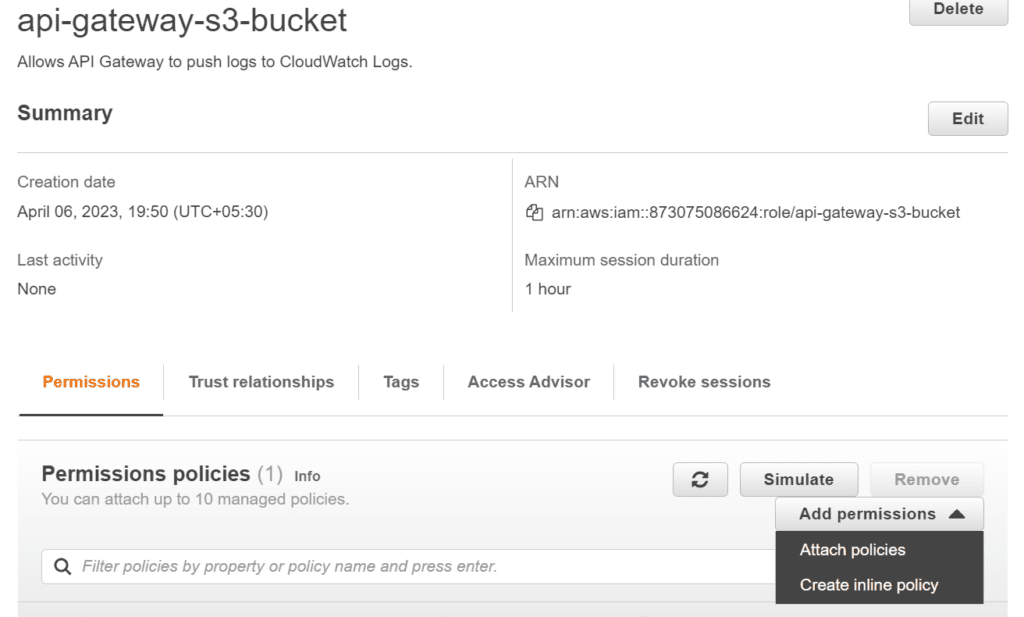
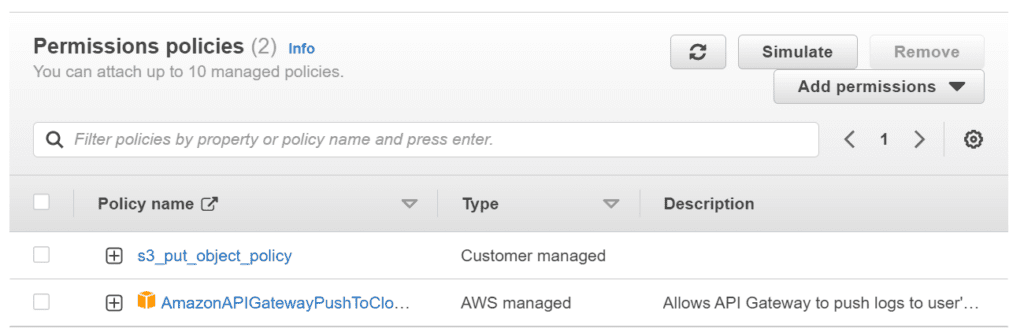
After the role has been created, we have to attach s3 PutObject policy to it. In your role, go to permissions and click add permissions to attack policy to it.
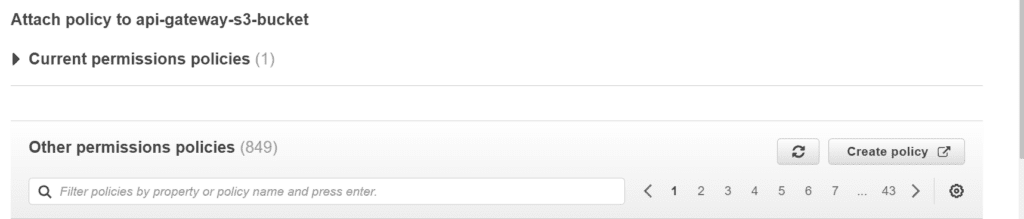
After that, click Create policy to create a new policy
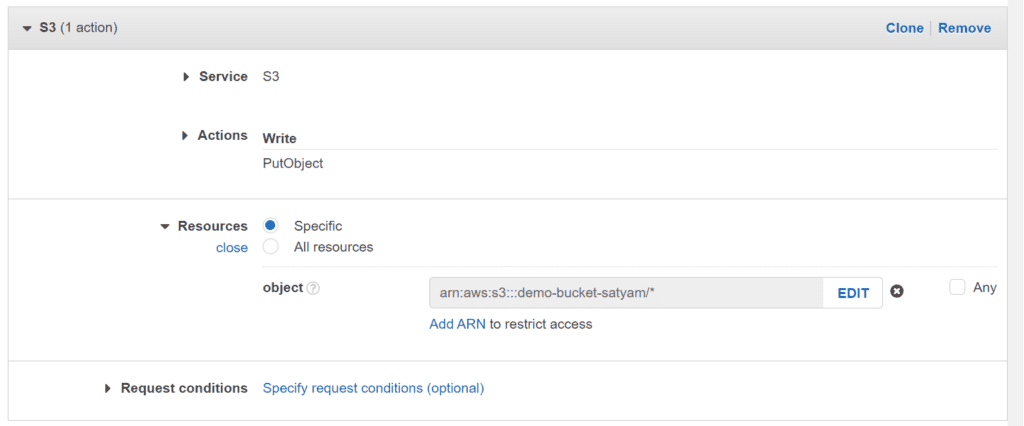
Select Service S3 and in actions select PutObject and add your bucket name in the arn and click Next.
Give your policy a name

After that attach that policy to your newly created IAM role.
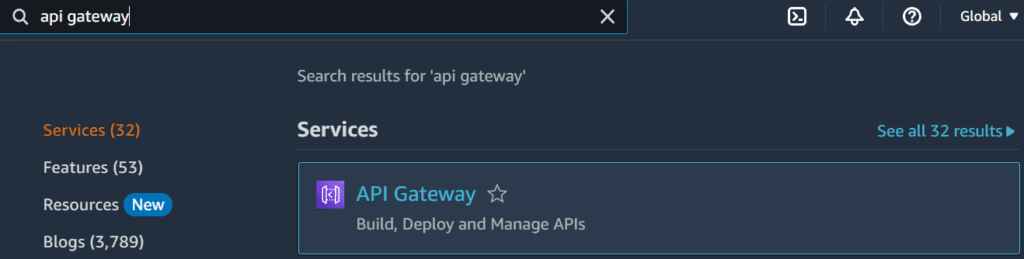
Step 4:
Open the AWS Management Console and navigate to the API Gateway and choose REST API
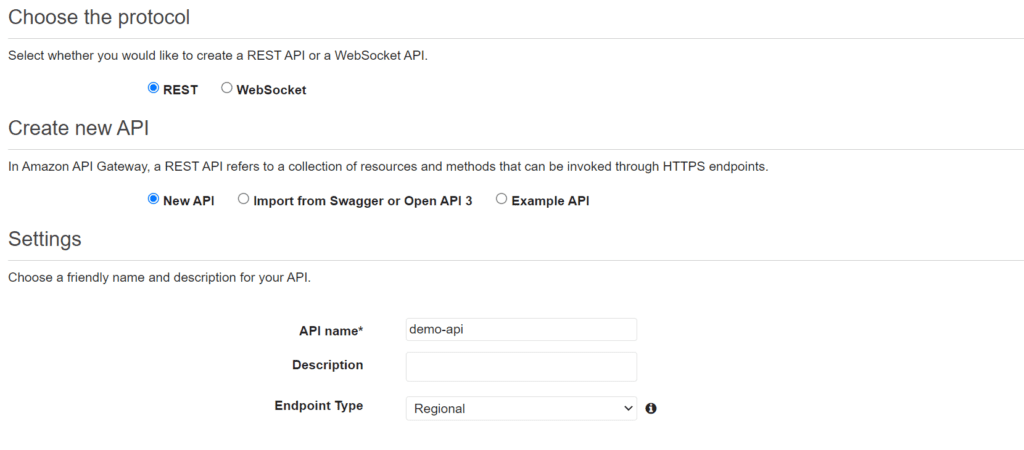
Step 5:
Create a New API and choose a friendly name for your API and click Create api
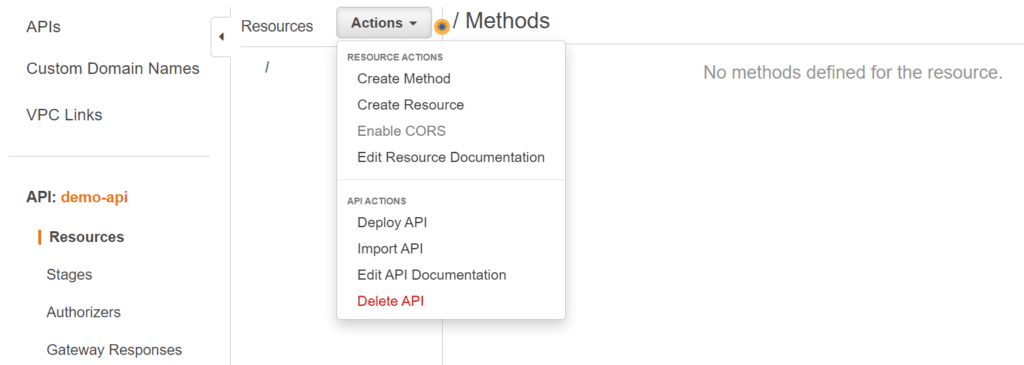
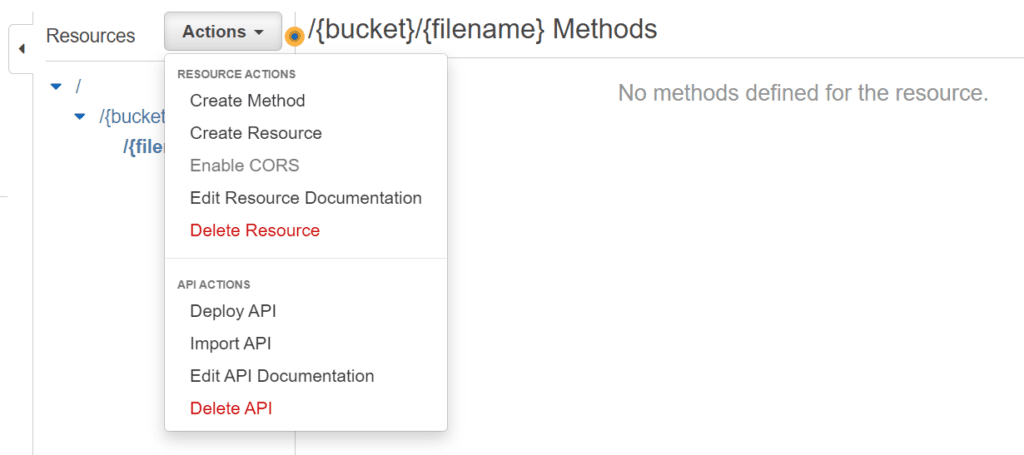
Step 6:
Under Actions, click Create Resource
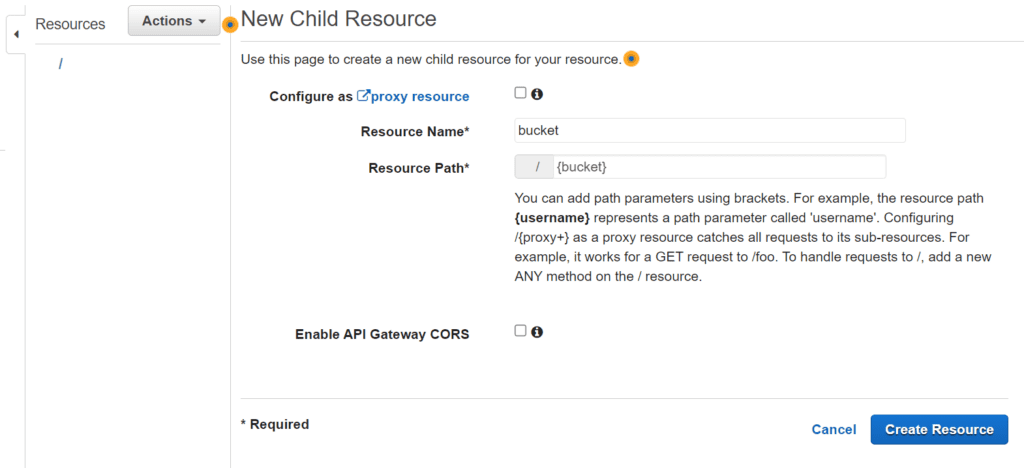
For Resource Name, enter folder.
For Resource Path, enter {folder}.
Then, click Create Resource
Choose Actions, and then click Create Resource.
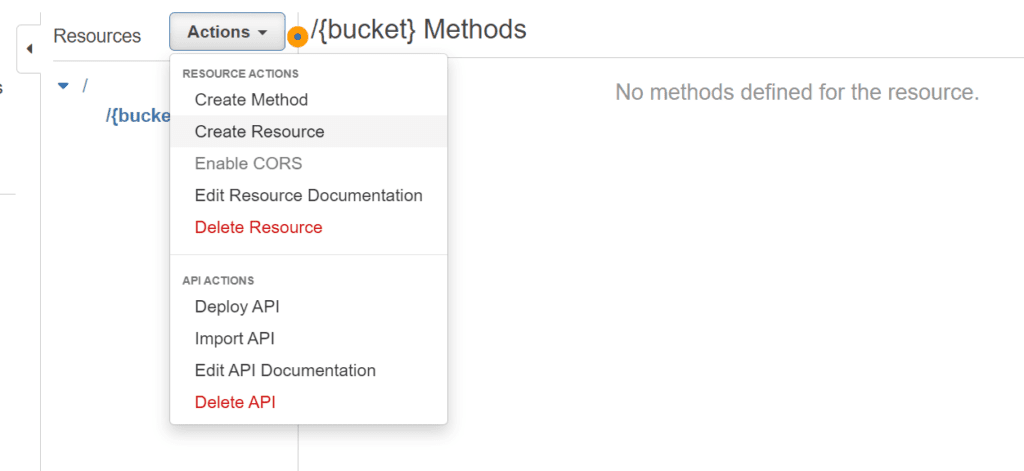
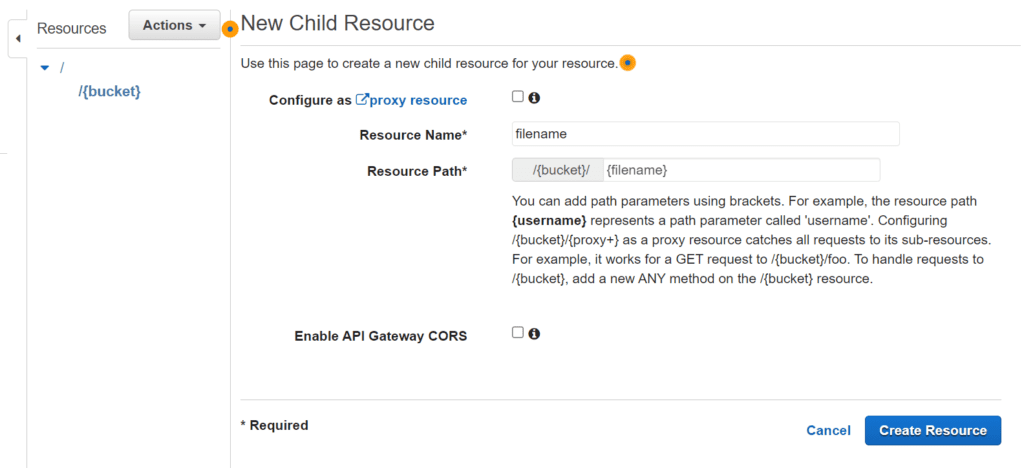
For Resource Name, enter object.
For Resource Path, enter {object}.
Click Create Resource.
Create a PUT method for your API for uploading image or PDF
So under Actions, click Create Method
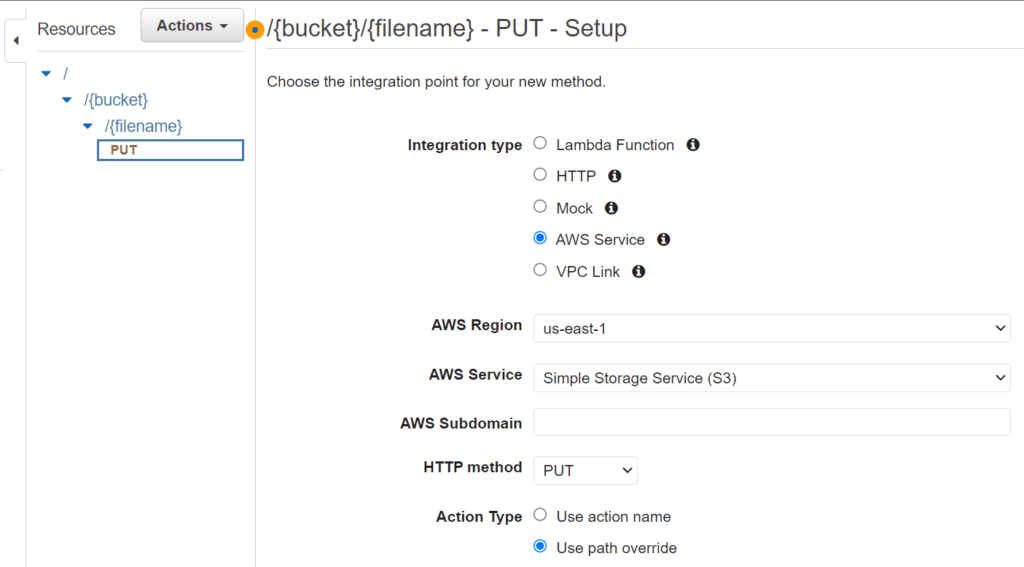
From the dropdown list, choose PUT, and then click the check mark icon. Under the Integration type, choose AWS Service.
For AWS Region, choose us-east-1 or the AWS Region you see on the Bucket properties page.
For AWS Service, choose Simple Storage Service (S3).
Leave AWS Subdomain empty.
For HTTP method, choose PUT.
For Action Type, choose Use path override.
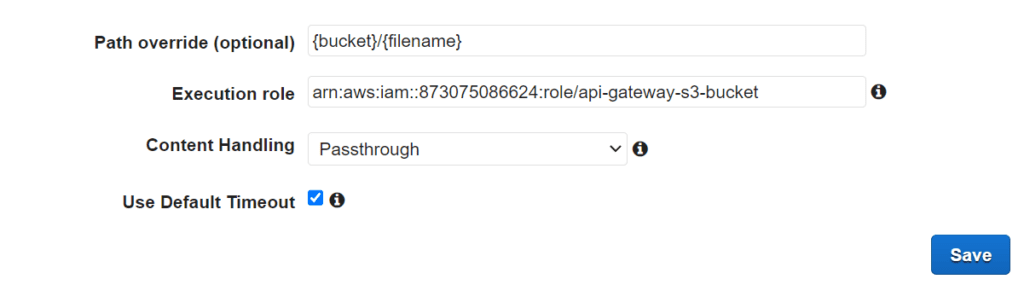
For Path override (optional), enter {bucket}/{key}
For Execution role, enter the Amazon Resource Name (ARN) for the IAM role that you created earlier.
For Content Handling, choose Passthrough and click Save.
Step 7:
Click Integration Request.
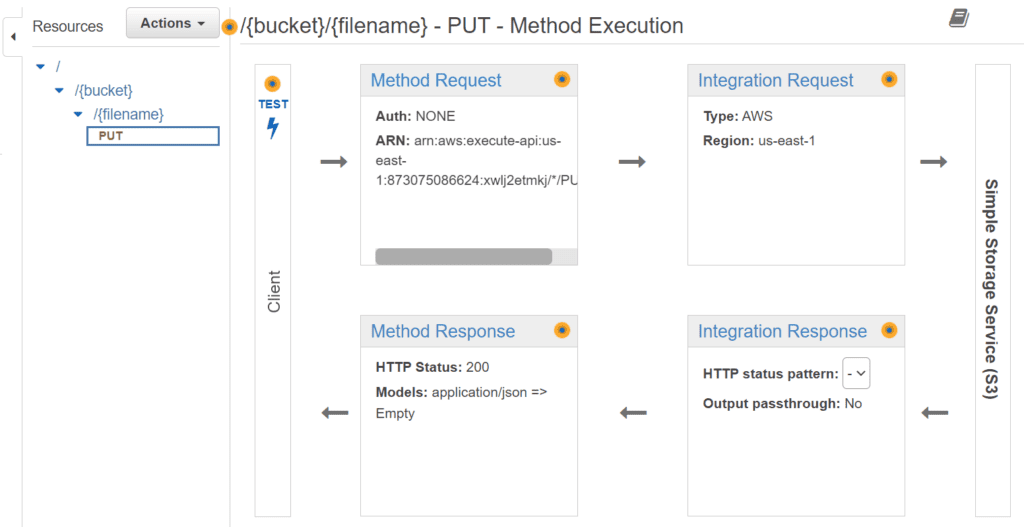
Expand URL Path Parameters and click Add path
For Name, enter bucket and for Mapped from, enter method.request.path.folder
Repeat and set Name to key and set Mapped from to method.request.path.object

Step 8:
Now we will set up binary media types for the API
In the navigation pane of your API page, go to Settings and in the Binary Media Types, click Add Binary Media Type

Note: choose image/jpeg to have API Gateway treat JPEG images as binary media types. If you add */*, then API Gateway treats all media types as binary media types.

Step 9:
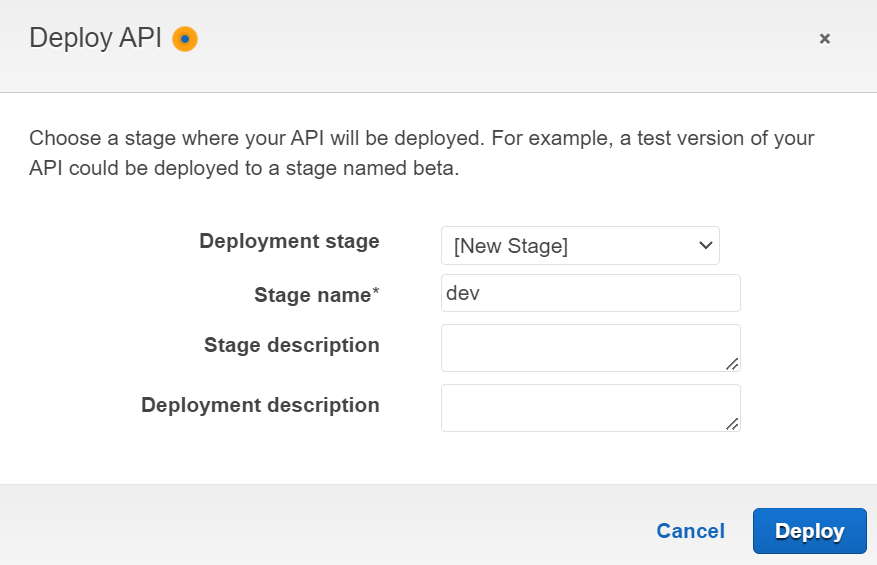
Go back to Resources & choose Actions, and then click Deploy API

In the Deploy API window, for Deployment stage, choose [New Stage]. For Stage name, enter dev and click Deploy
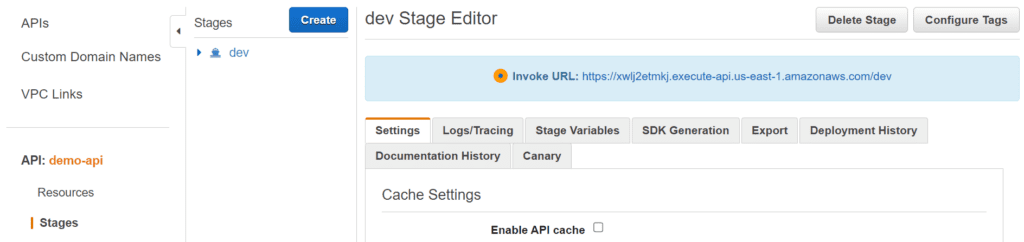
Step 10:
In the navigation pane, choose Stages and the invoke URL for making requests to the deployed API snapshot appears. Copy the invoke URL
Install Insomnia/Postman (both are popular API testing tools)
Choose PUT method and enter the URL and in File, choose binary and upload your file
URL: Invoke_URL/bucket_name/image_name_with_format
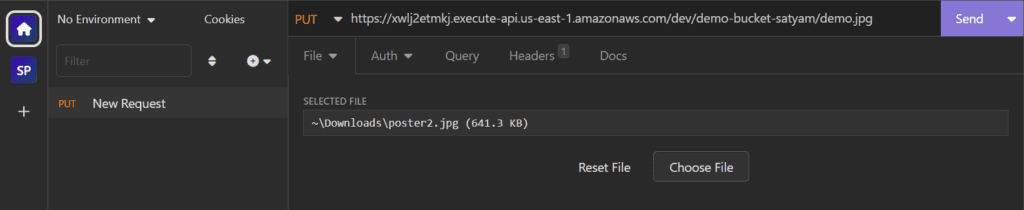
Click Send and you can see 200 OK response

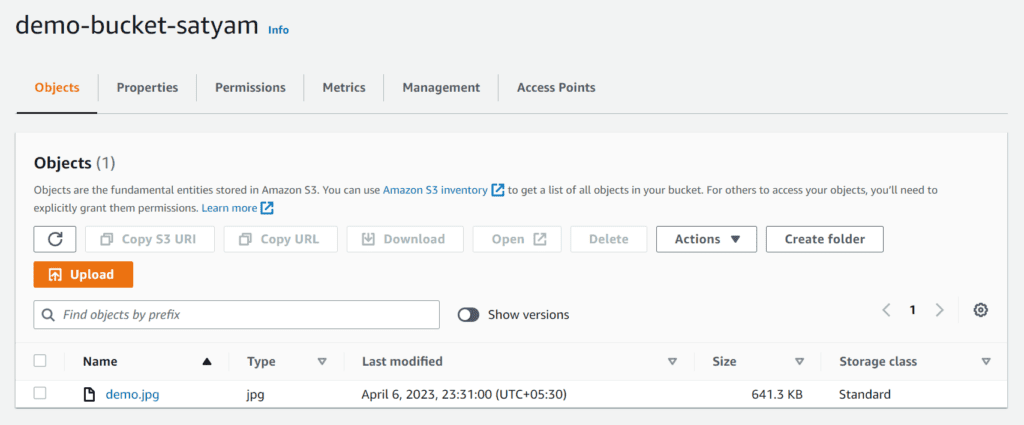
To confirm your file upload, check your s3 bucket
To follow official documentation: Click here