

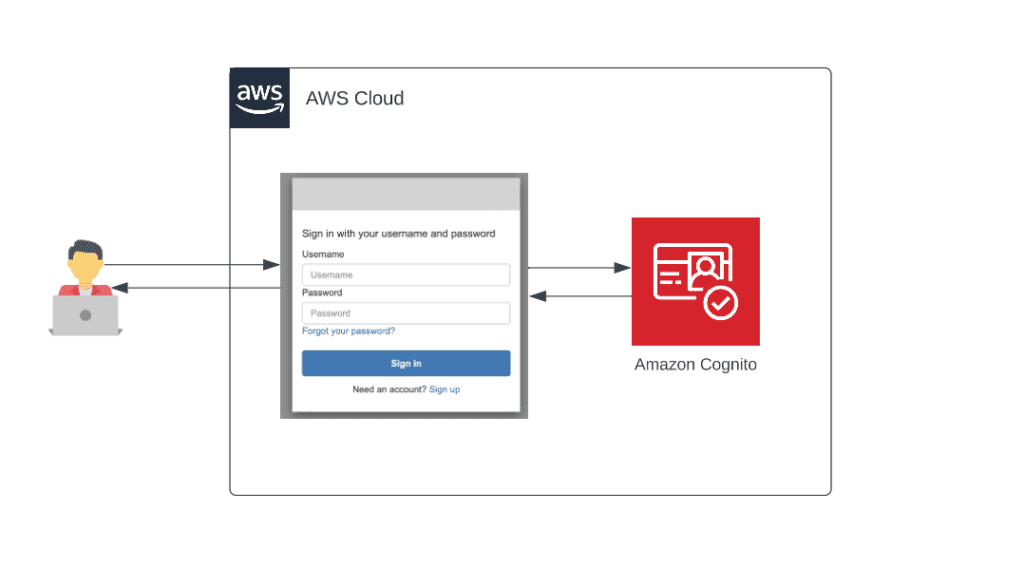
Amazon Cognito is a managed authentication, authorization, and user management service provided by Amazon Web Services (AWS). It allows you to add user sign-up, sign-in, and access control to your web and mobile applications quickly and easily.
With Amazon Cognito, you can create a user directory or “user pool” to manage user registration, sign-in, and account recovery. You can also integrate it with other AWS services, such as Amazon S3, Amazon API Gateway, and AWS Lambda, to control access to your resources and manage user permissions.
Amazon Cognito provides different types of authentication and authorization flows, including social identity providers such as Google, Facebook, and Amazon, as well as support for multi-factor authentication (MFA).
To use AWS Cognito to build an authentication/login system, you can follow these steps:
Step 1:
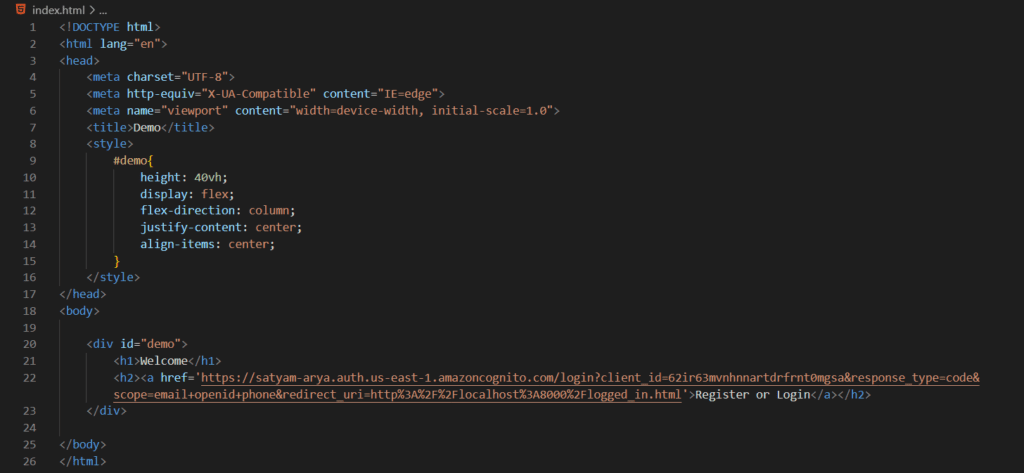
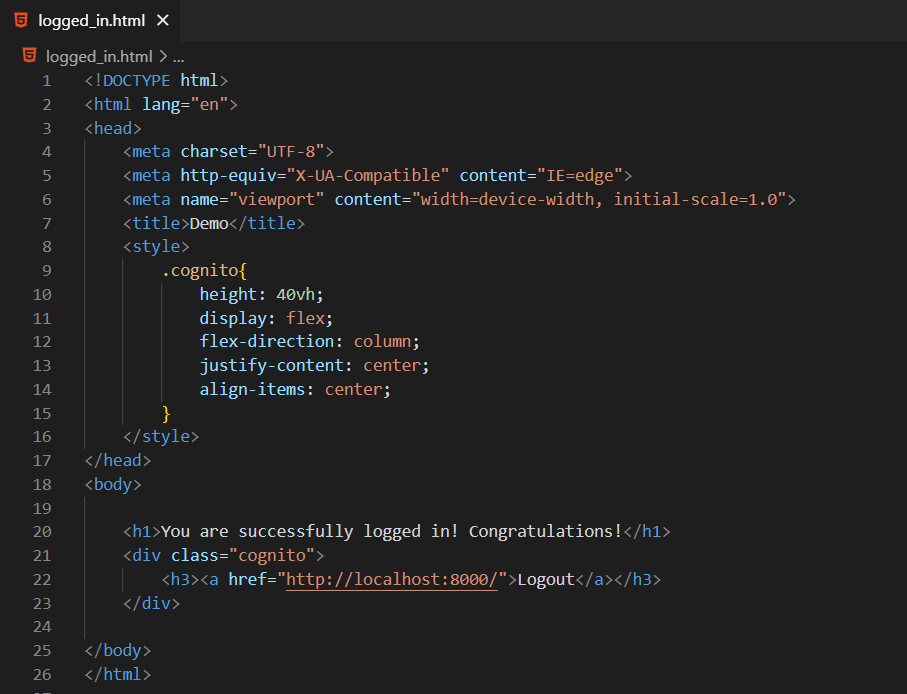
Create two files: index.html and logged_in.html

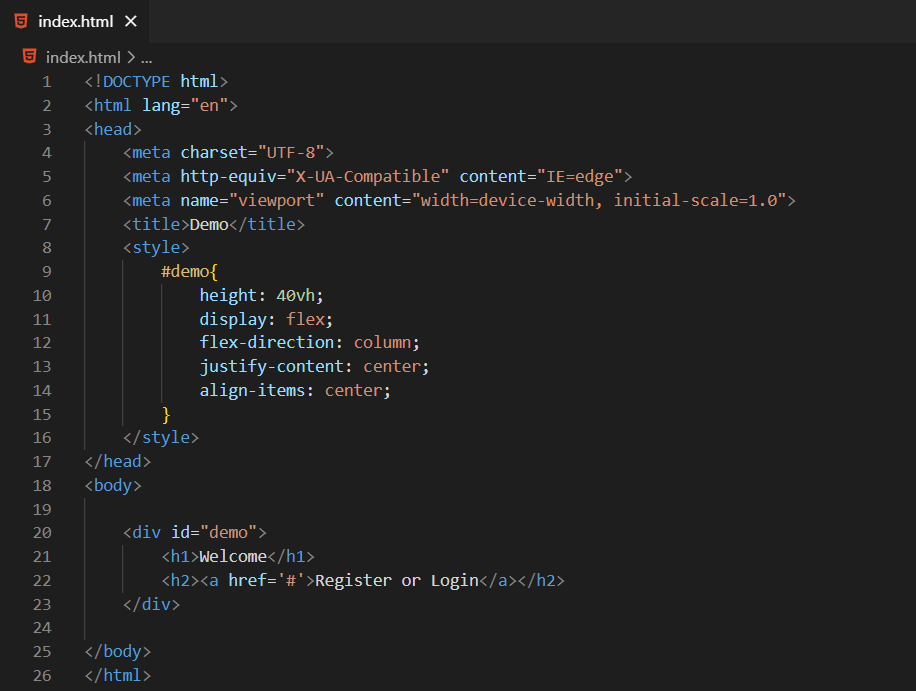
<!DOCTYPE html>
<html lang="en">
<head>
    <meta charset="UTF-8">
    <meta http-equiv="X-UA-Compatible" content="IE=edge">
    <meta name="viewport" content="width=device-width, initial-scale=1.0">
    <title>Demo</title>
    <style>
        #demo{
            height: 40vh;
            display: flex;
            flex-direction: column;
            justify-content: center;
            align-items: center;
        }
    </style>
</head>
<body>

    <div id="demo">
        <h1>Welcome</h1>
        <h2><a href='#'>Register or Login</a></h2>
    </div>

</body>
</html>

<!DOCTYPE html>
<html lang="en">
<head>
<meta charset="UTF-8">
<meta http-equiv="X-UA-Compatible" content="IE=edge">
<meta name="viewport" content="width=device-width, initial-scale=1.0">
<title>Demo</title>
<style>
.cognito{
height: 40vh;
display: flex;
flex-direction: column;
justify-content: center;
align-items: center;
}
</style>
</head>
<body>
<h1>You are successfully logged in! Congratulations!</h1>
<div class="cognito">
<h3><a href="#">Logout</a></h3>
</div>
</body>
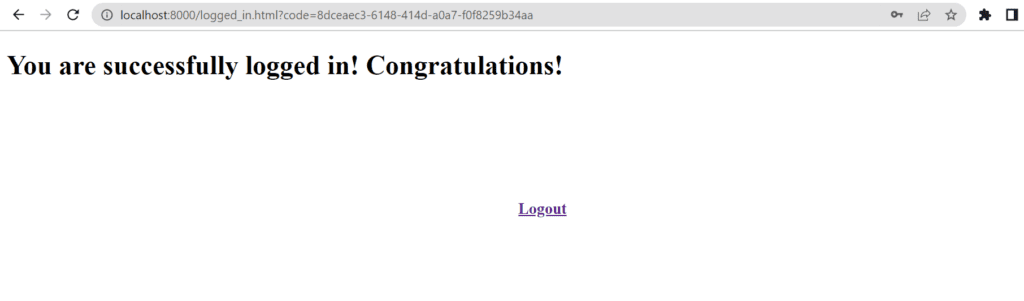
</html>Step 2:
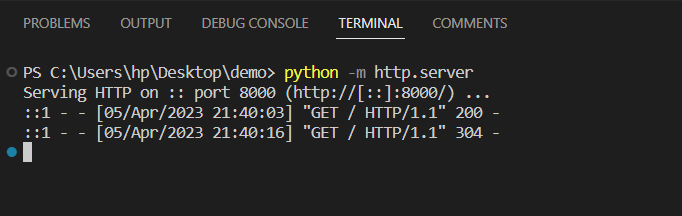
Run python -m http.server command in your terminal to start a basic HTTP server from a directory in your local system. This command is available in Python 3 and can be used to quickly serve static files in a directory over HTTP.
When you run this command, Python will start a web server on port 8000 (by default) in the directory from which you run the command.


Step 3:
Open the AWS Management Console and navigate to the Amazon Cognito and click Create user pool


Step 4:
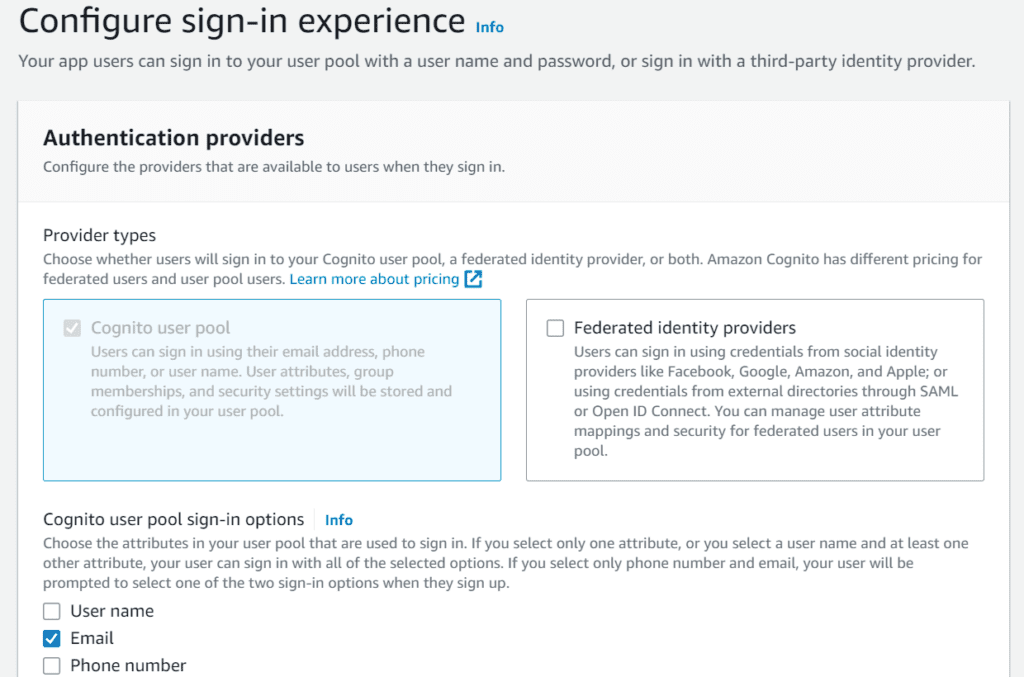
Choose the attributes that you want to require for user registration, such as email or phone number and click Next

Step 5:
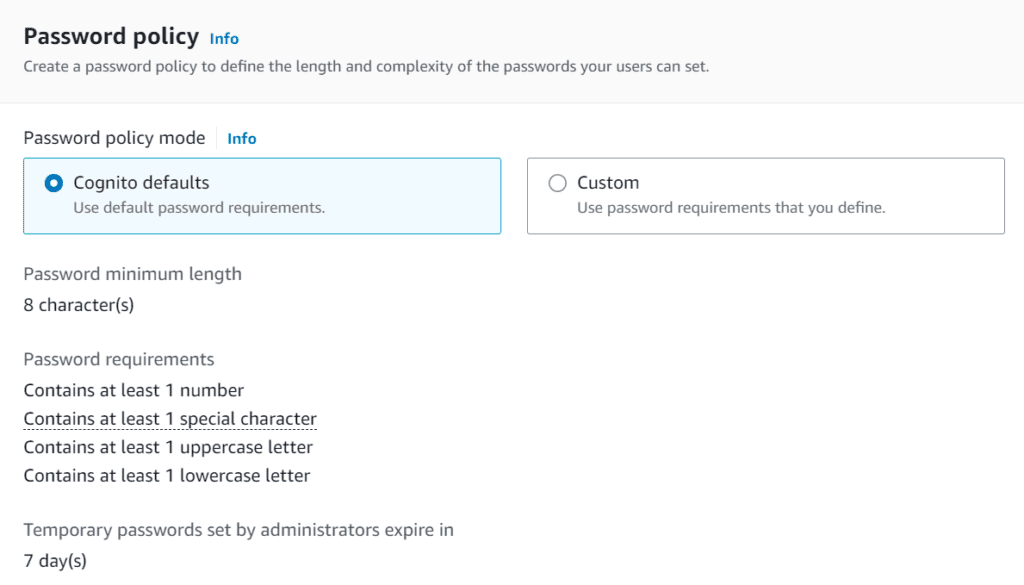
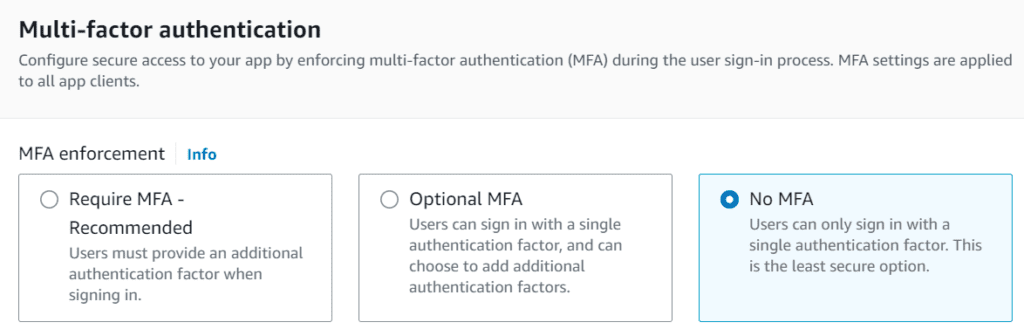
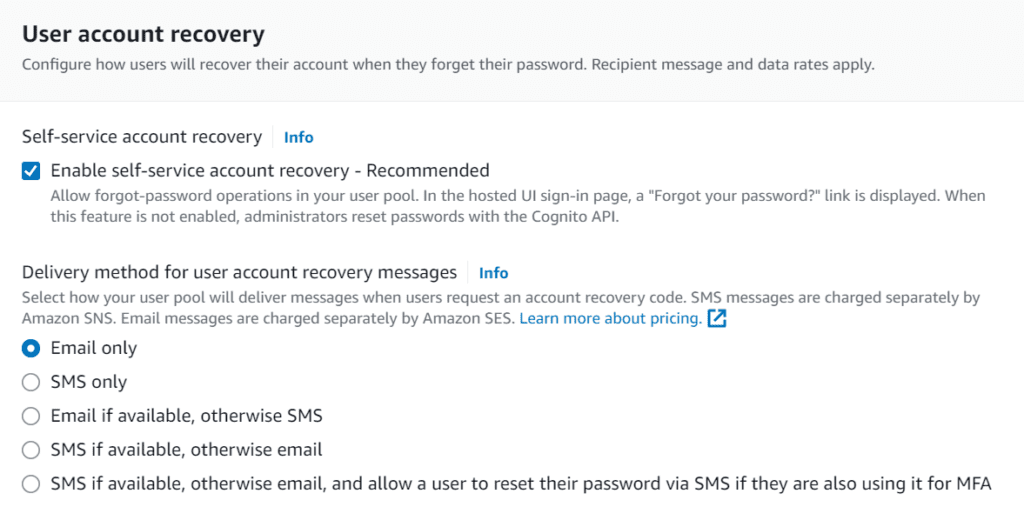
Configure security requirements like Password policy, Multi-factor authentication, User account recovery and click Next


Step 6:
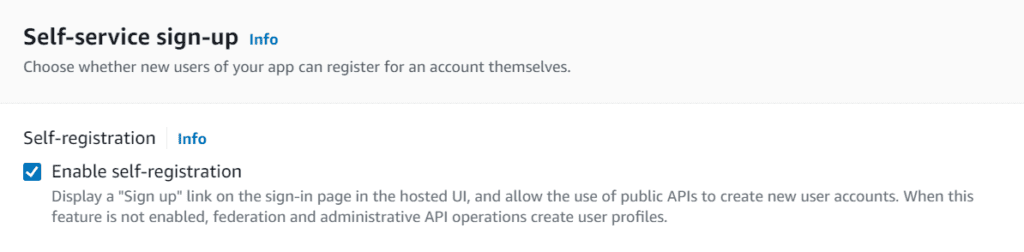
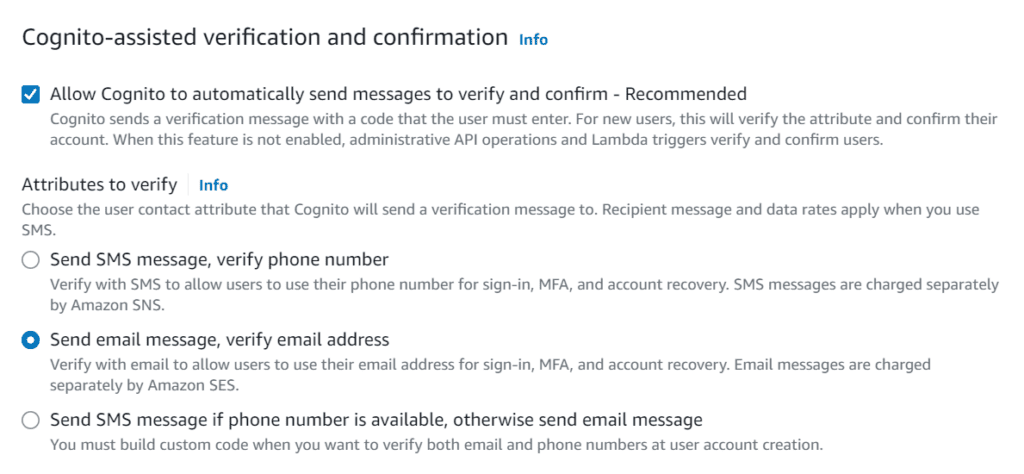
Configure sign-up experience like Self-service sign-up, Attribute verification and user account confirmation, Required attributes and click Next


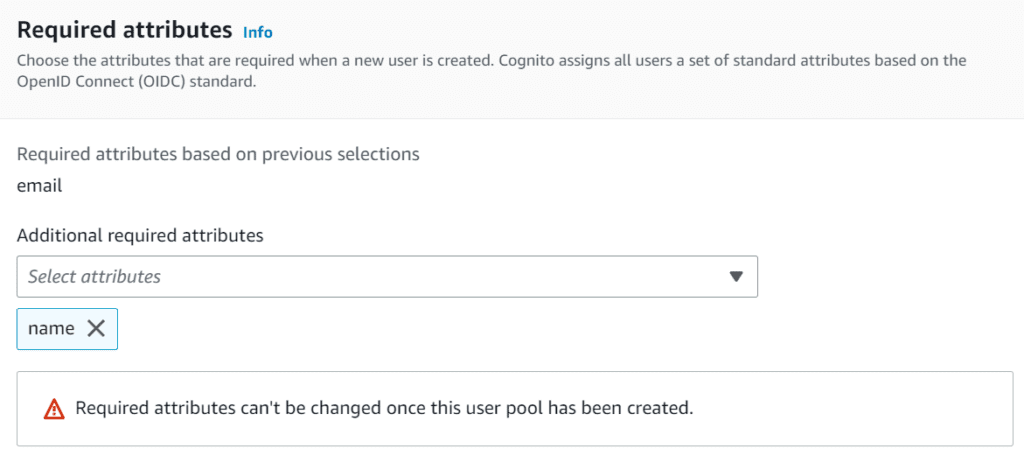
When creating a user pool in AWS Cognito, you can select which user attributes are required for user sign-up.
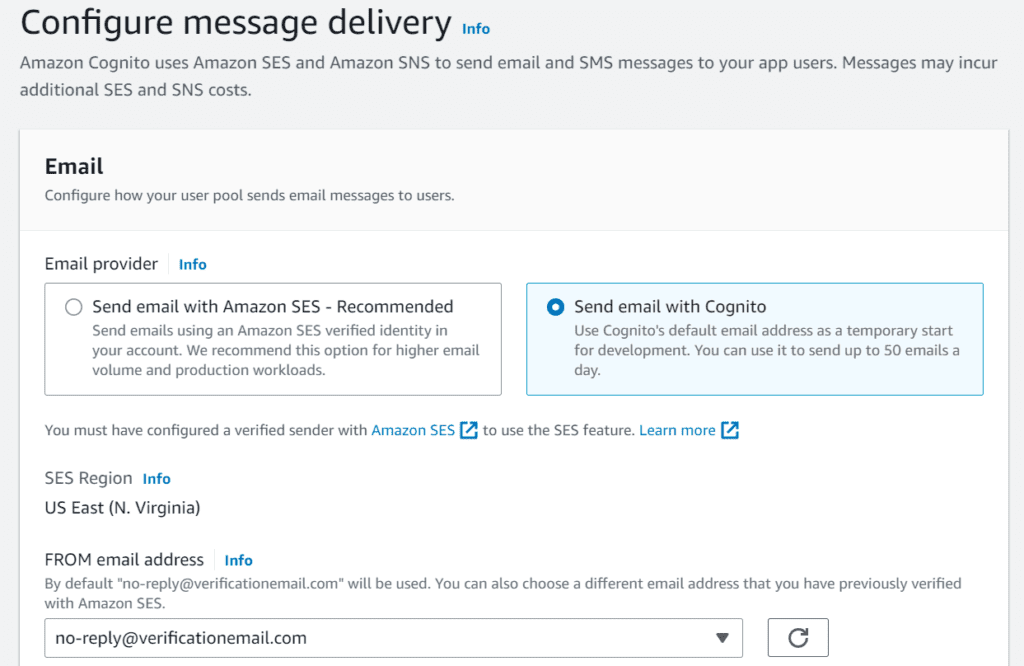
Step 7:
Configure message delivery

Step 8:
Enter User pool name and tick Hosted authentication pages

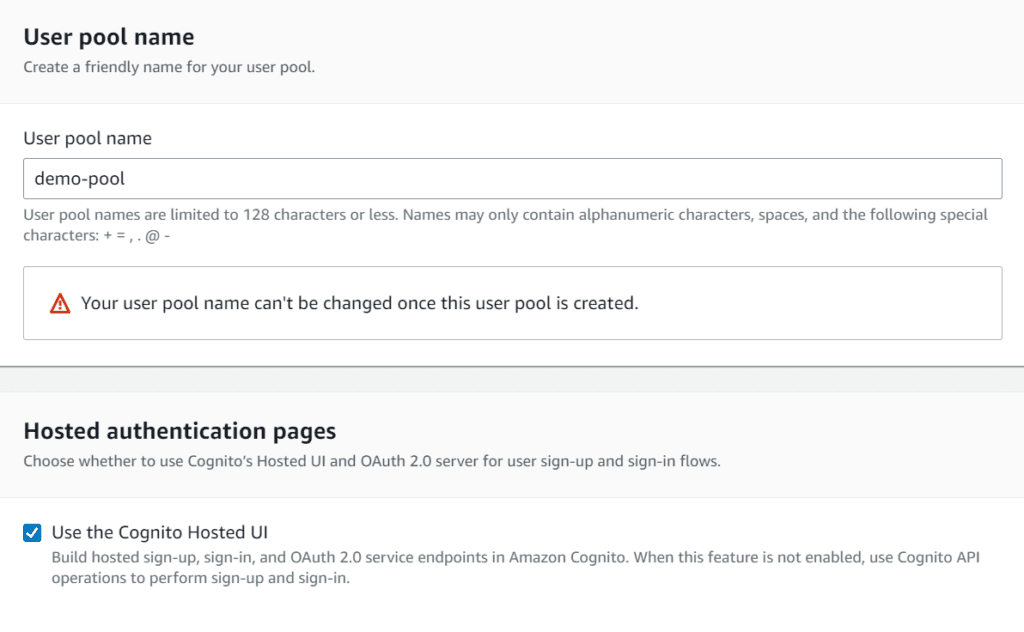
Choose a Domain type:
- Amazon Cognito domain – Use this option if you want Amazon Cognito to provision and manage the domain for you. Amazon Cognito will automatically configure SSL certificates and DNS records for your domain.
- Custom domain – Use this option if you want to use your own domain name. You will need to configure DNS records and SSL certificates yourself.
Enter a domain prefix in the “Domain prefix” field. This is the part of the domain name that comes before the “.auth.” subdomain. For example, if you enter “satyam-arya”, the domain name for your user pool will be https://satyam-arya.auth.<region>.amazoncognito.com


Choose App type Public client and Enter a friendly name for your app client.

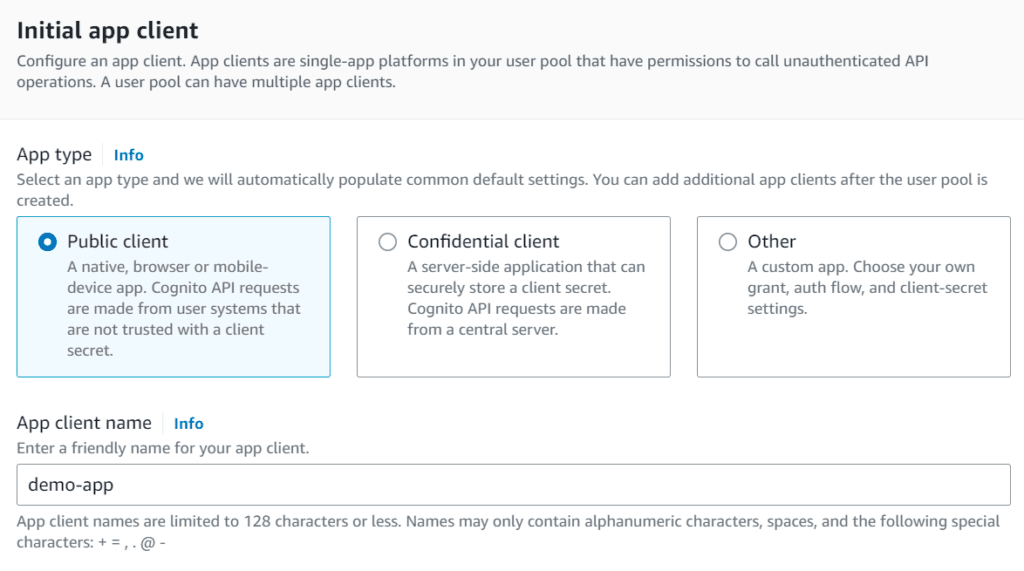
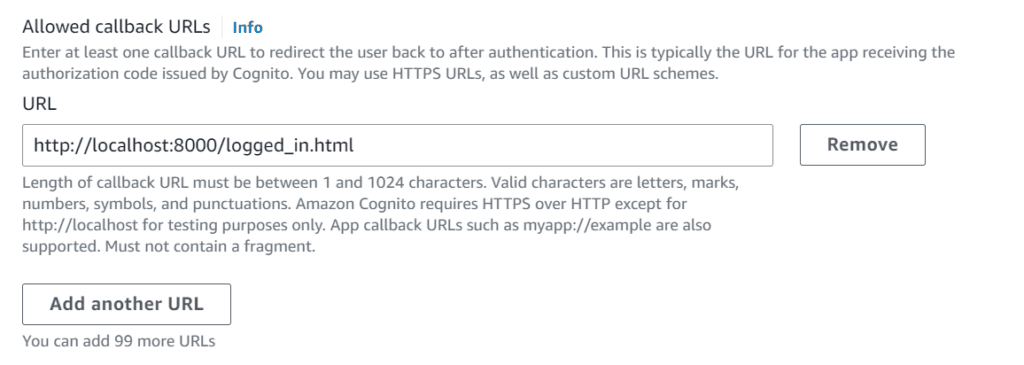
The callback URL is the URL that users are redirected to after they have signed in to your application.

Step 9:
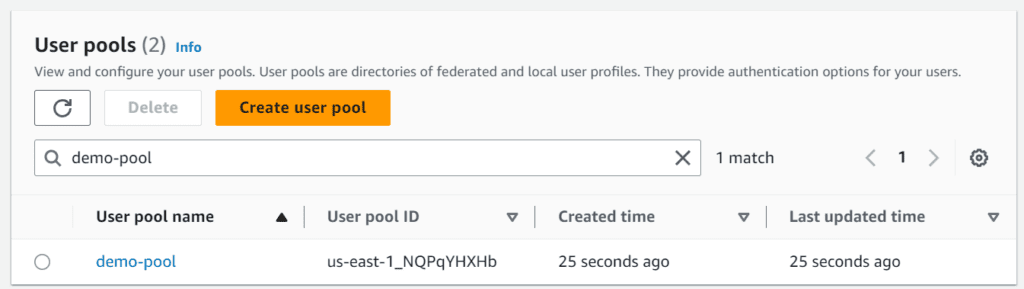
Review and create your user pool

Step 10:
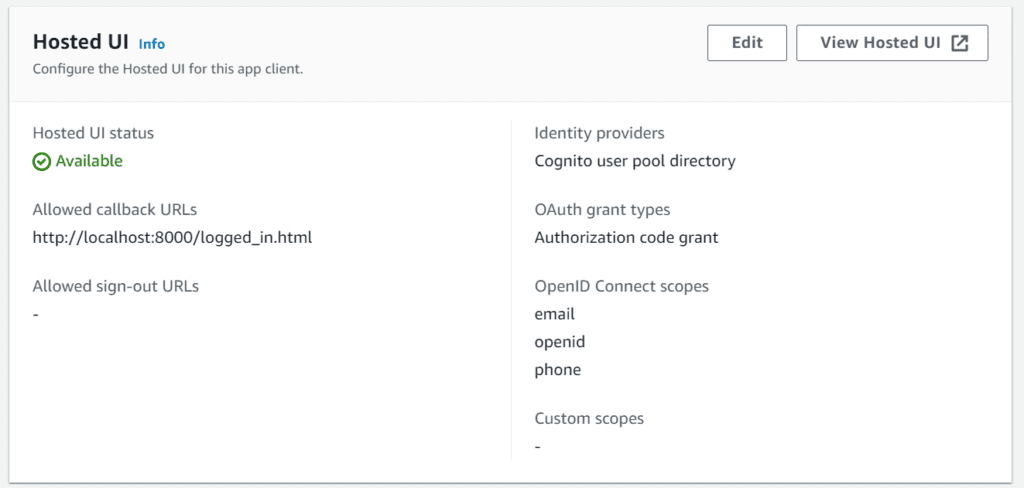
Go to App integration and scroll down to App client list and click on your app client name


In your App client, scroll down to Hosted UI and click View Hosted UI


Step 11:
Copy the Hosted UI URL and paste in your index.html file.

Step 12:
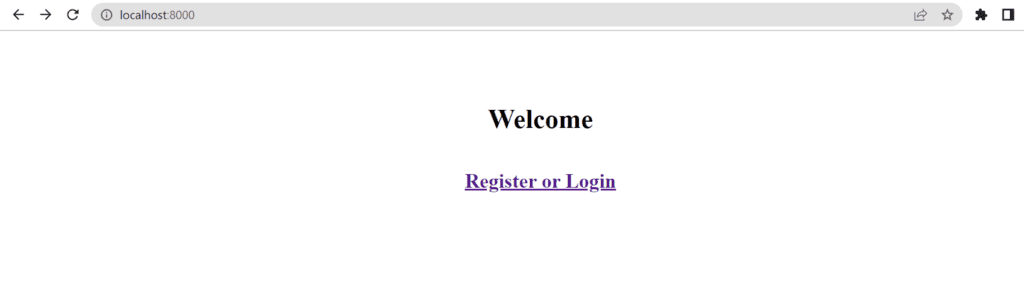
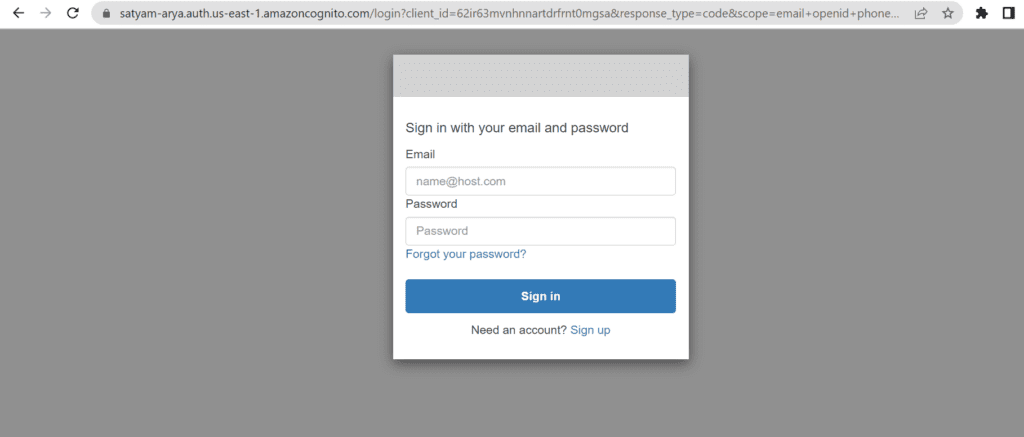
Restart the server again on port 8000 and open it in your browser and click on Register or Login

After that you are redirected to Hosted UI page to signup for your new account


Congratulations, You are successfully logged in!🥳

In Cognito, go to Users section to see your registered users.


In conclusion, Amazon Cognito is a powerful and flexible solution for managing user authentication, authorization, and user management in your web and mobile applications. It offers a range of features, such as user sign-up and sign-in, social identity providers, multi-factor authentication, and adaptive authentication, that simplify the development process and help you to create a more secure and scalable system.
By using Amazon Cognito, you can offload the responsibility of user authentication and management to AWS, and focus on developing the core functionality of your application. Additionally, integrating Cognito with other AWS services such as Amazon API Gateway and AWS Lambda can help you to secure your APIs and restrict access to authenticated users only.
Overall, Amazon Cognito is a robust and reliable solution that can help you to build a more secure and scalable authentication and user management system in your applications.
Check our other articles: https://satyam-arya.click/hosting-wordpress-on-amazon-ec2/