Splunk is a powerful and widely used platform for collecting, indexing, searching, and analyzing machine-generated data. It is especially popular for its capabilities in log management, security information and event management (SIEM), and real-time monitoring. Splunk is designed to help organizations gain valuable insights from the vast amounts of data generated by their systems, applications, and devices.
Step 1:
Set up your Splunk Account: Click here
Goto Products and click Free Trials and Downloads

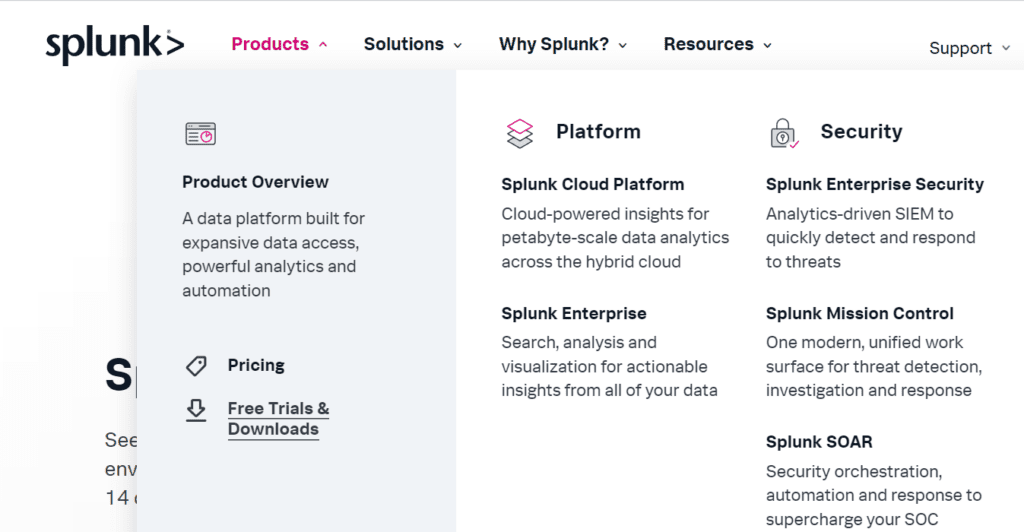
Click on ‘Get My Free Trial’


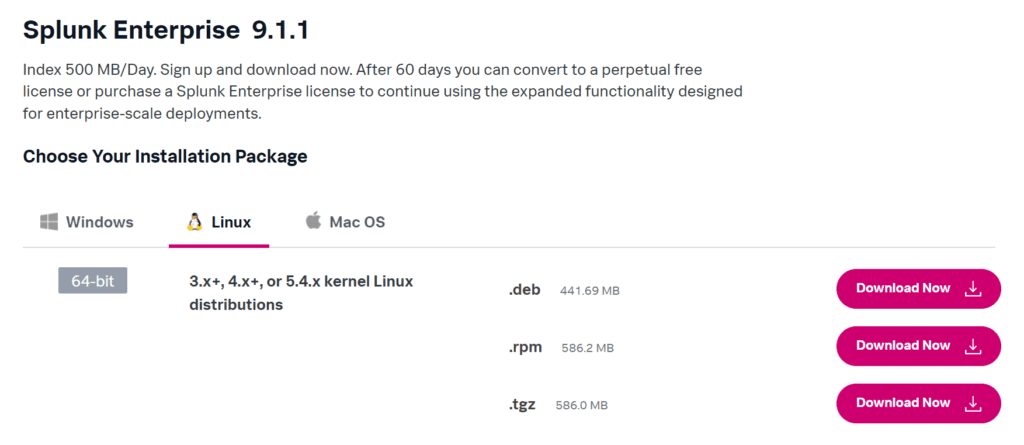
opt for the ‘.deb’ package, which is compatible with Ubuntu and click Download Now’ button.

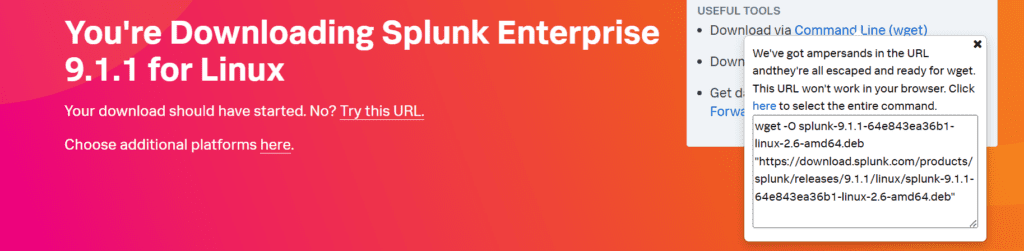
Click on Command Line (wget)

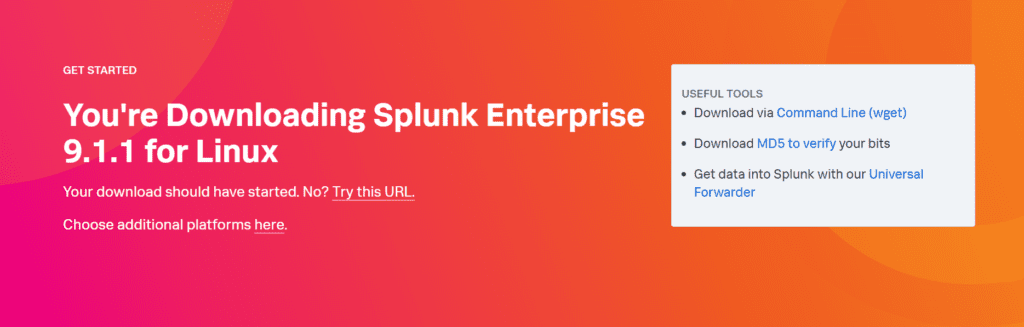
Copy that command and save it for later use

Step 2:
Launch an Ubuntu(22.04) t2.large instance
Install Jenkins on it.
To install Jenkins : Click here
Once Jenkins is up and running, you can access it by navigating to your EC2 instance’s public IP address followed by port 8080.
To get the password, type the following command,
sudo cat /var/lib/jenkins/secrets/initialAdminPasswordStep 3:
Launch one more Ubuntu(22.04) t2.large instance
Install Splunk on the Second Machine
To download and install Splunk on your Ubuntu instance use the wget command that you saved earlier
wget -O splunk-9.1.1-62e843ea36b1-linux-2.6-amd64.deb "https://download.splunk.com/products/splunk/releases/9.1.1/linux/splunk-9.1.1-62e843ea36b1-linux-2.6-amd64.deb"To depackage the Splunk use the below command
sudo dpkg -i splunk-9.1.1-64e843ea36b1-linux-2.6-amd64.deb To ensure that Splunk Enterprise is configured to start automatically when your Ubuntu system boots, run the below command
sudo /opt/splunk/bin/splunk enable boot-start
Please note that after running this command, you should follow the on-screen prompts to accept the terms and complete the setup to 100%.
After completing the initial setup and accepting the terms, you’ll be prompted to create an admin user.

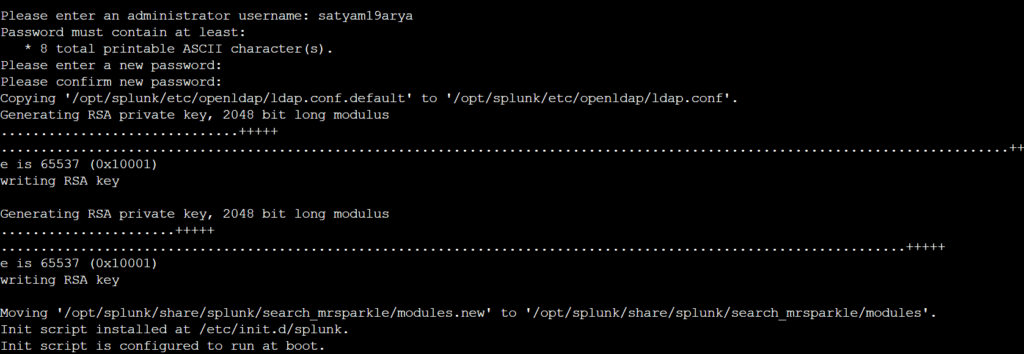
By creating an administrator username and password, you’ll have full access to your Splunk instance, allowing you to configure and manage it effectively.
After that run the below command to allow incoming SSH traffic through the UFW (Uncomplicated Firewall) on your Ubuntu system. It’s essential for enabling SSH access to your server.
sudo ufw allow openSSH
sudo ufw allow 8000
sudo ufw status
sudo ufw enable


Below command is used to start the Splunk Enterprise application on your system
sudo /opt/splunk/bin/splunk start
Once splunk is up and running, you can access it by navigating to your EC2 instance’s public IP address followed by port 8000

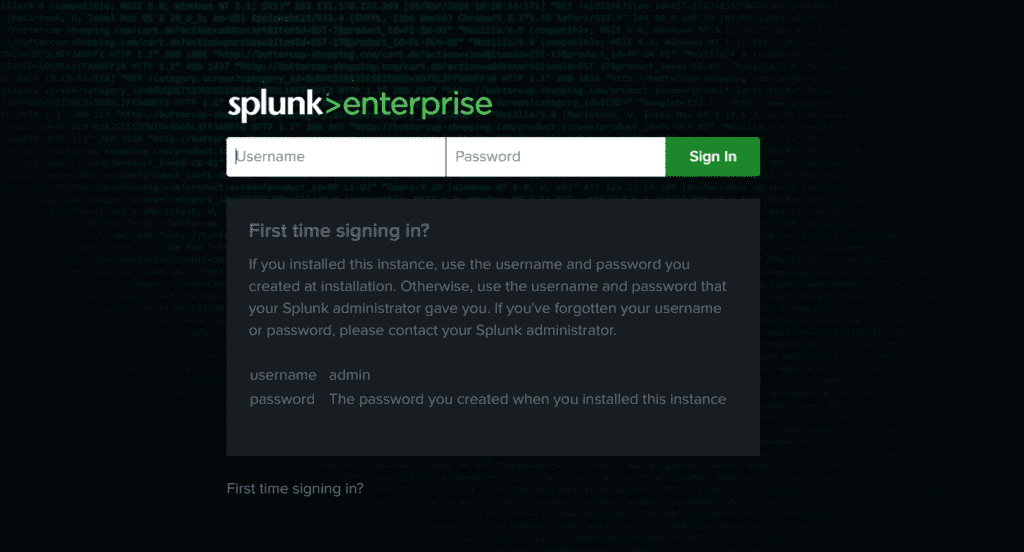
Splunk dashboard


Step 3:
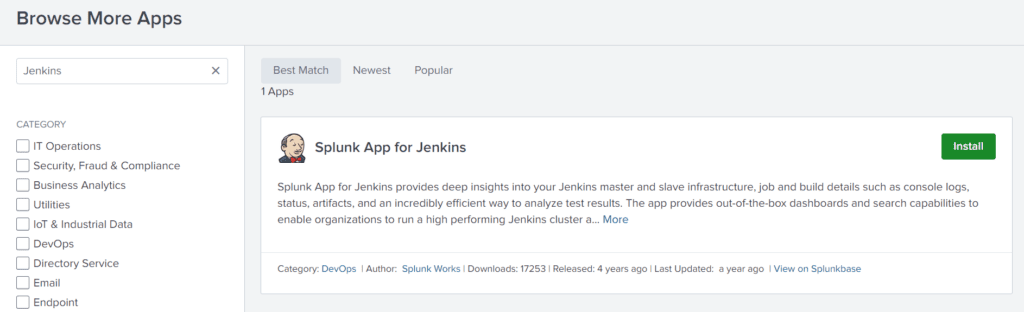
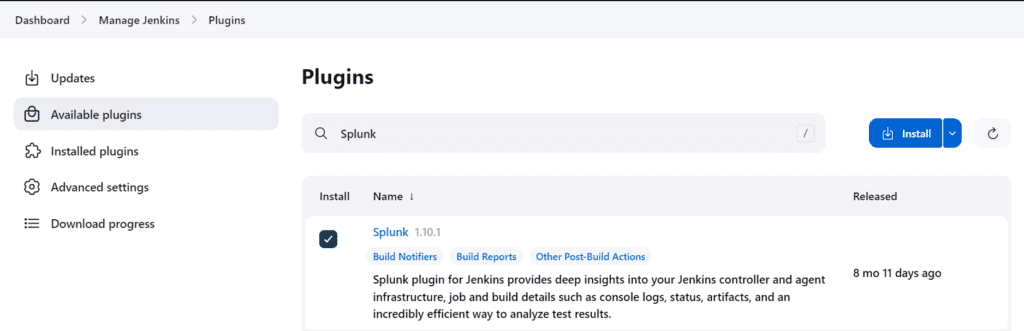
Install the Splunk app for Jenkins
Click on ‘Find more apps’ and Jenkins and install it.

You will be prompted to provide your Splunk credentials. That’s why we created a Splunk account

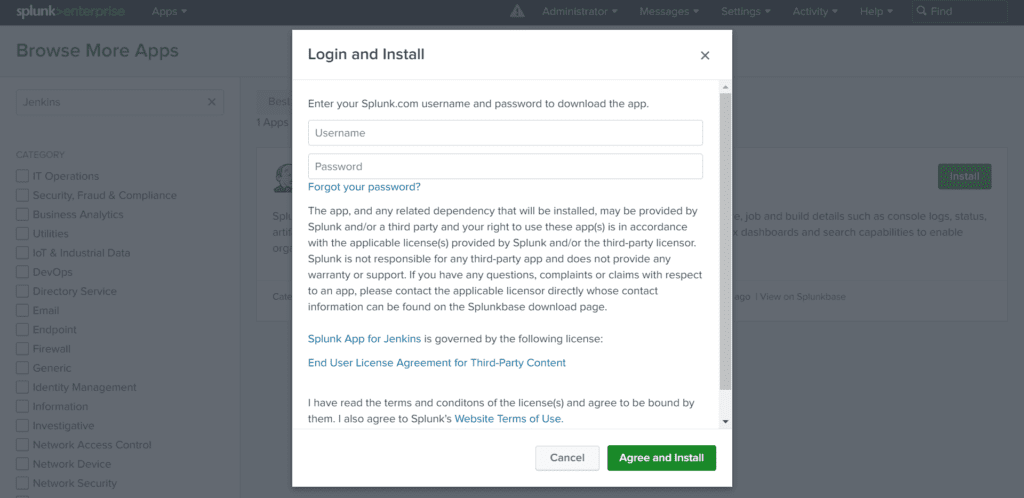
Click on Agree and install.
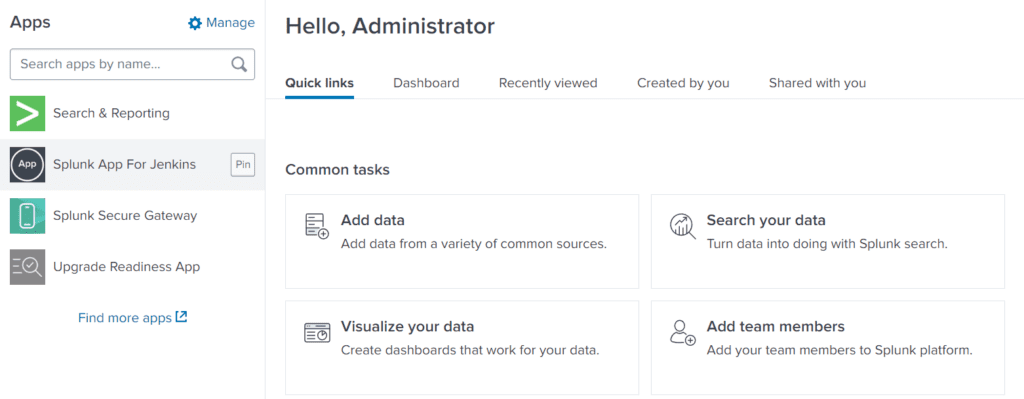
Click on Go Home


On homepage of Splunk, you will see Jenkins been added

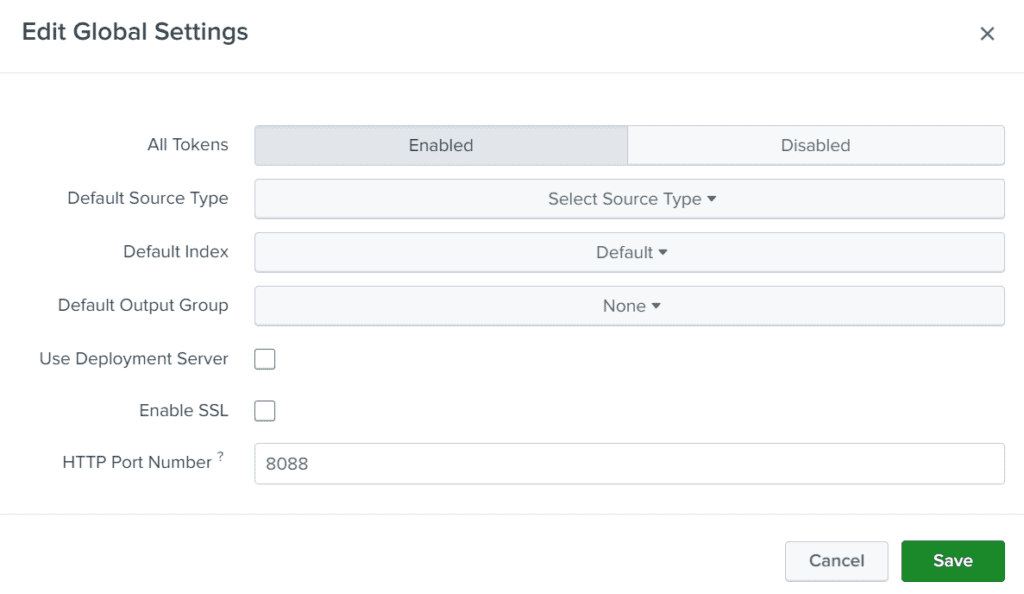
Now go to Settings -> Data Inputs -> HTTP Event Collector -> Global Settings
Set All tokens to enabled
Uncheck SSL enable
Use 8088 port and click on save

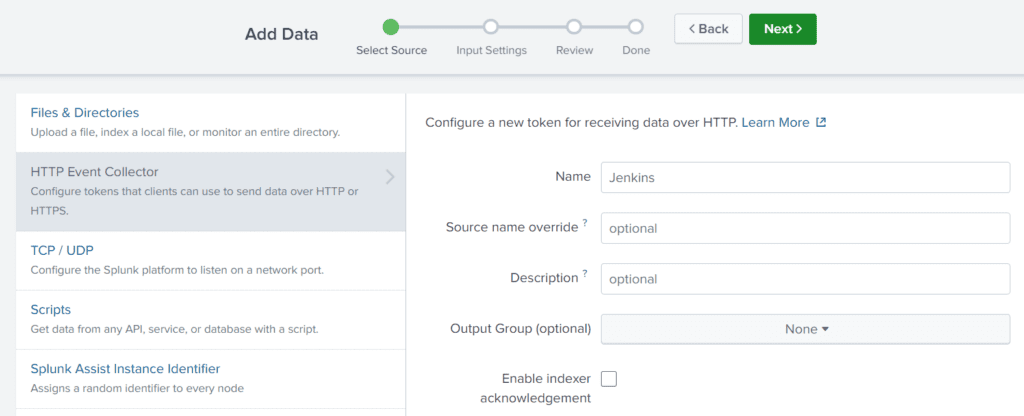
Now click on New token
Provide a Name and click on next and click Review and click Submit

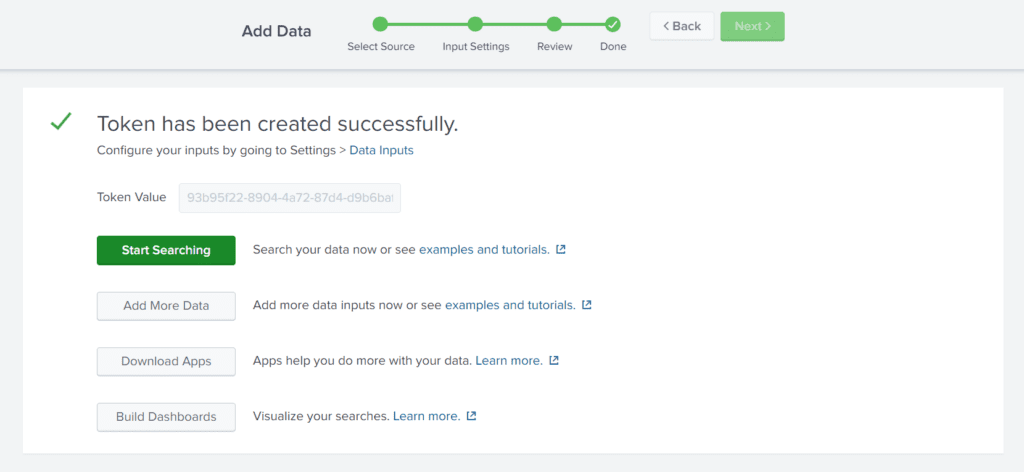
Click Start searching

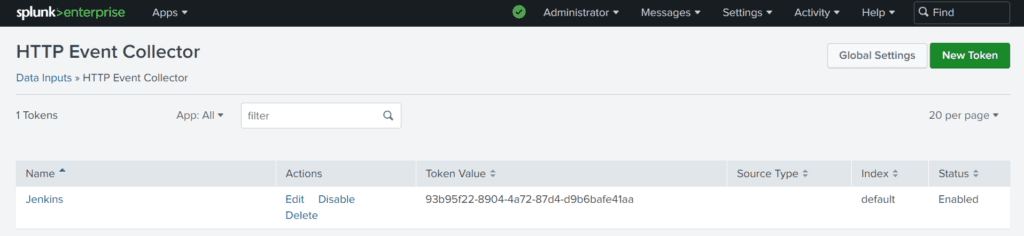
Again go to Home -> Settings -> Data Inputs -> HTTP Event Collector
Now copy your token and keep it safe

Step 4:
Add Splunk Plugin in Jenkins

Now go to Manage Jenkins -> System


Click on apply and save
Run the following command in your splunk server
sudo ufw allow 8088
Now restart your jenkins and splunk once
Now in the Jenkins dashboard under Splunk click on Test connection


Step 5:
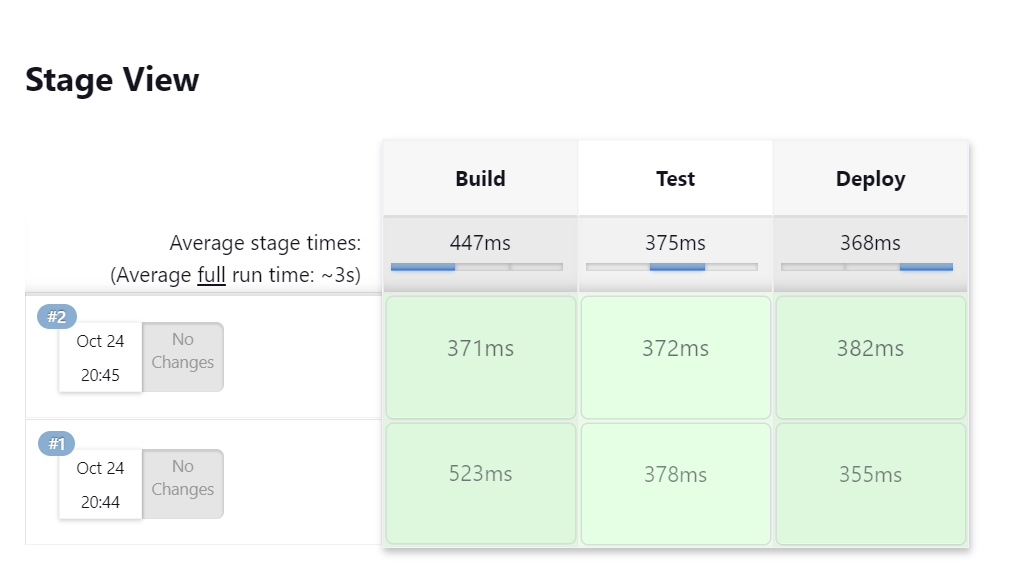
Run a simple Pipeline and check status in Splunk
pipeline {
    agent any

    stages {
        stage('Build') {
            steps {
                sh 'echo "Building the project"'
            }
        }

        stage('Test') {
            steps {
                sh 'echo "Running tests"'
            }
        }

        stage('Deploy') {
            steps {
                sh 'echo "Deploying the application"'
            }
        }
    }
}