
MongoDB Community Server is a free and open-source NoSQL document database server that allows developers to store and manage unstructured data. It was developed by MongoDB Inc. and is designed to provide high availability, horizontal scaling, and ease of use.
Step 1:
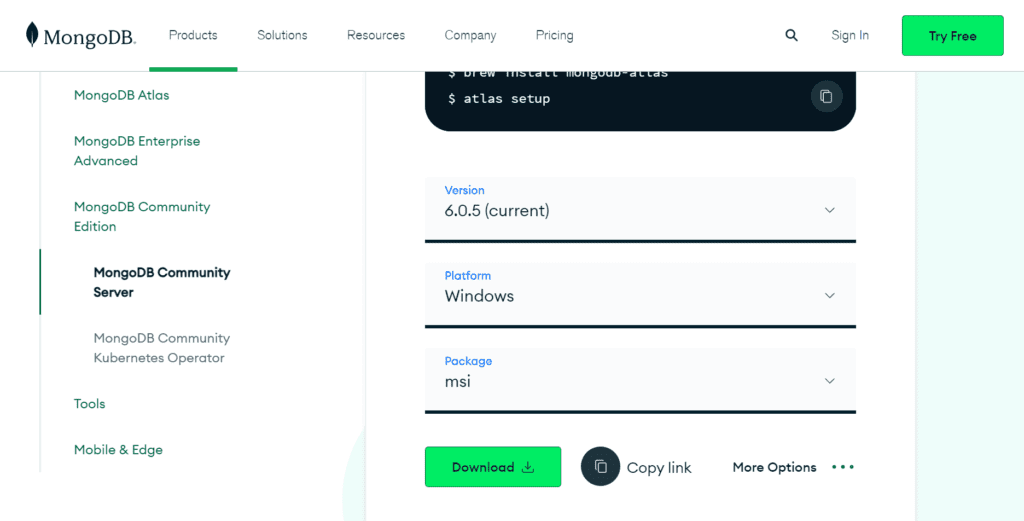
Go to MongoDB official website: Click here and download the MongoDB Community Server package for your operating system
Step 2:
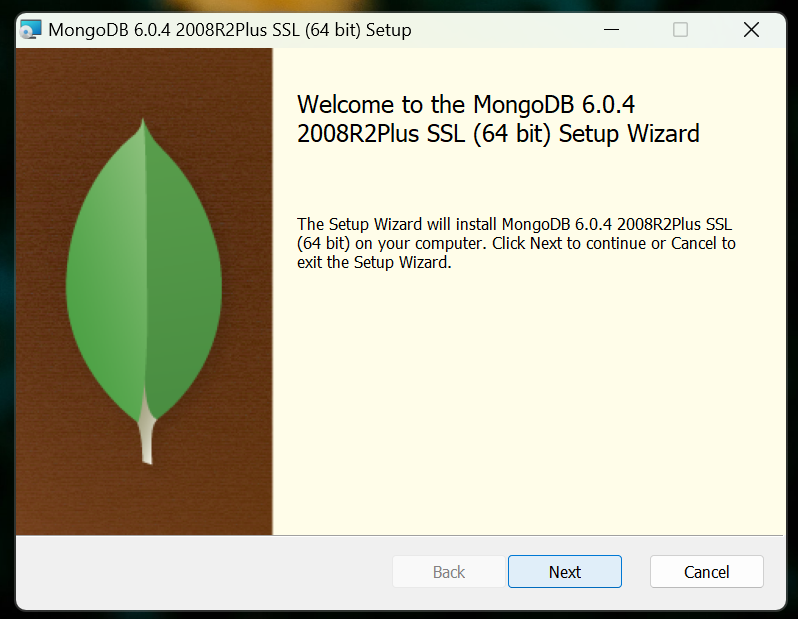
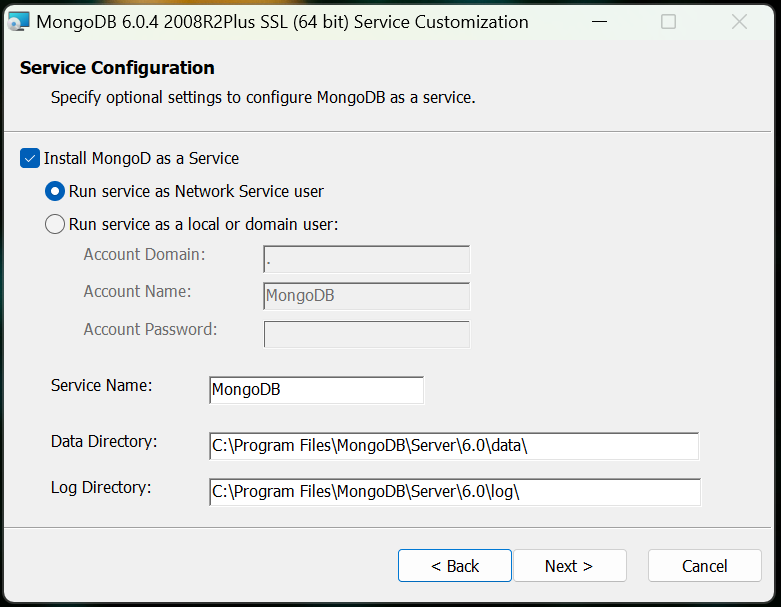
Once the download is complete, open the installer file and follow the instructions to install MongoDB Community Server on your system. Make sure to select the default options unless you have specific requirements.
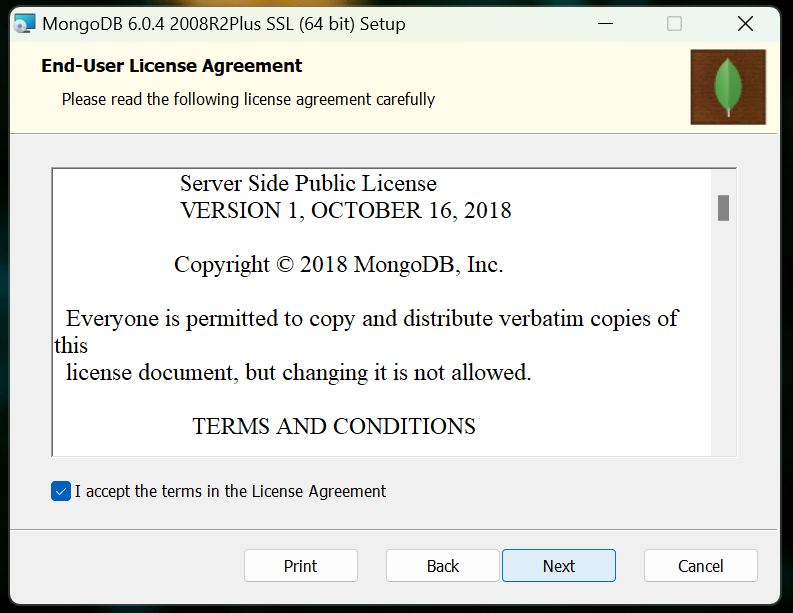
Accept all the terms in the License Agreement
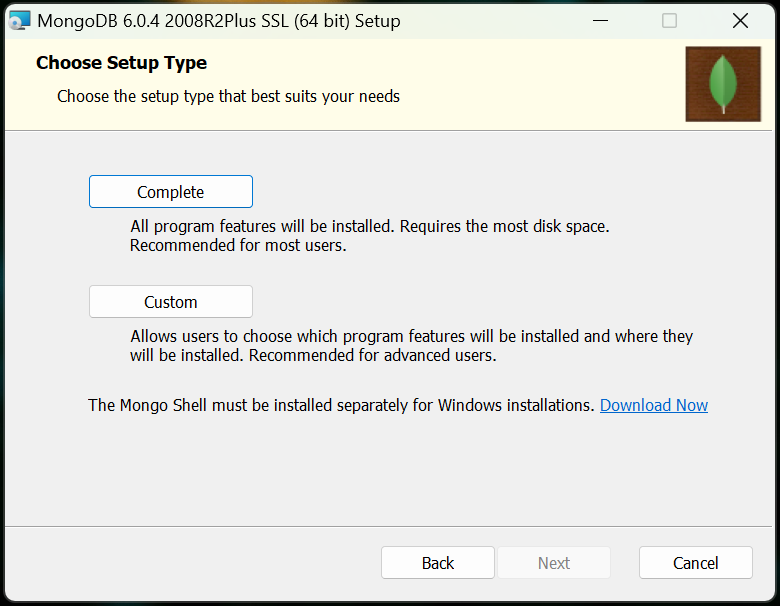
Select the Setup Type be Complete

Tick the MongoDB Compass option
MongoDB Compass is a GUI (graphical user interface) tool for interacting with MongoDB databases. It allows users to visually explore their data, manage databases and collections, and perform various CRUD (create, read, update, delete) operations.
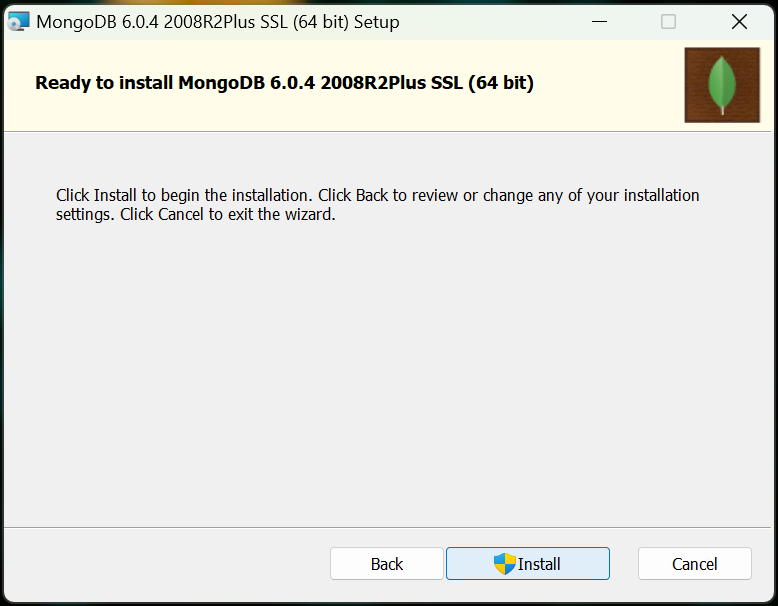
Click on Install
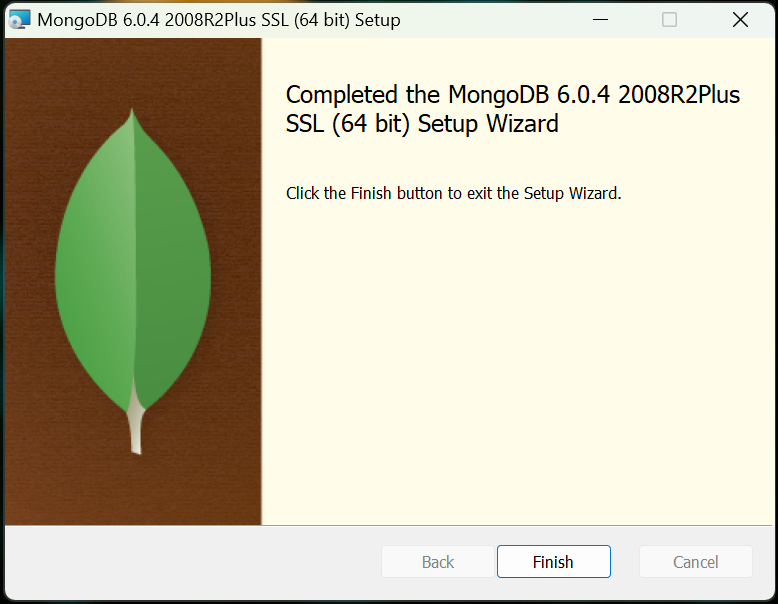
After installation, click Finish
Step 3:
Install MongoDB Shell
MongoDB Shell is the quickest way to connect to (and work with) MongoDB. Easily query data, configure settings, and execute other actions with this modern, extensible command-line interface — replete with syntax highlighting, intelligent autocomplete, contextual help, and error messages.
To install MongoDB shell: Click here
Make sure to install it in Windows (C:) drive
Step 4:
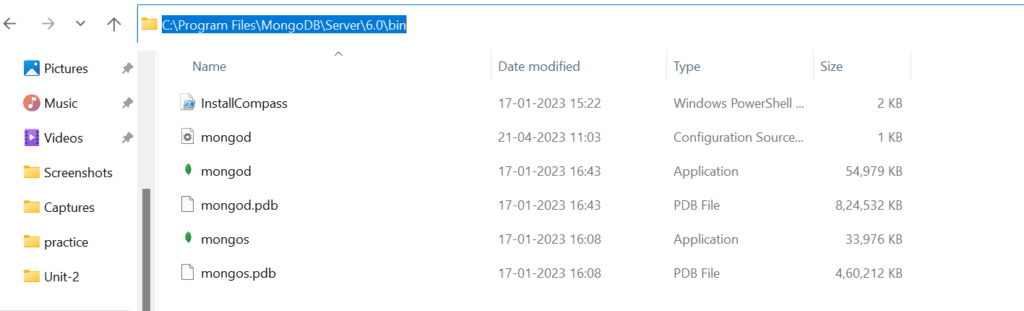
Now you have to set environment variables path
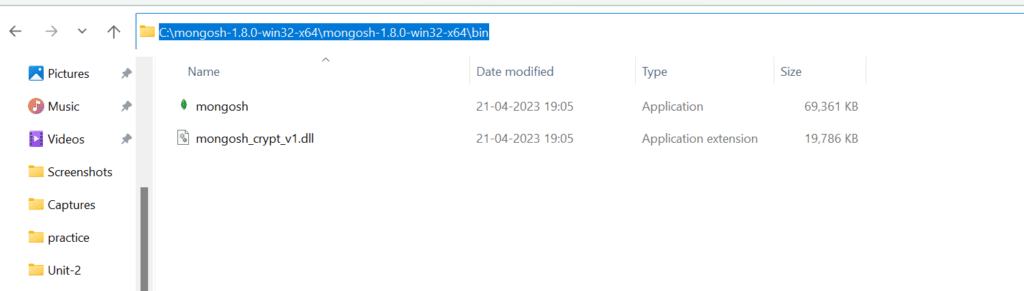
Copy this path and paste into your system variables path
You have to also copy MongoDB shell path and paste into your system variables path
Now you have set path for your both MongoDB server and shell
Step 5:
MongoDB requires a data directory to store its data. By default, MongoDB will use the /data/db directory. If this directory does not exist, you need to create it in your C drive

Step 6:
You can start the MongoDB server by opening a command prompt or terminal and running the following command:
mongodStep 7:
To connect to the MongoDB server, you can use the mongo shell.
Click on mongosh in the MongoDB shell folder to start the shell

This will start the mongo shell and connect to the local MongoDB server.
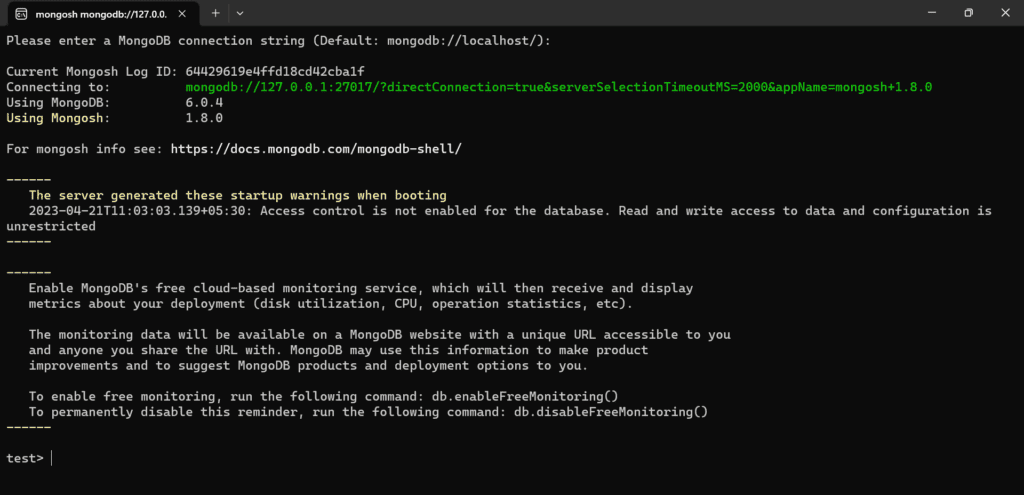
By default, we have one test database
Note: As you can see we have first started the MongoDB server and then started MongoDB shell to connect to it. But from next time, you don’t need to start MongoDB server again as it will automatically start on system restart. You can check it on System services and check the Startup Type which is Automatic

Conclusion
In conclusion, MongoDB is a popular NoSQL document-oriented database that is widely used in modern web applications. Installing MongoDB is a straightforward process that involves downloading the appropriate package for your operating system and following a few simple installation steps.
Once you have MongoDB installed, you can use MongoDB Compass, a GUI tool for MongoDB databases, to interact with your data and perform various CRUD operations. With these tools at your disposal, you’ll be well-equipped to build robust and scalable applications using MongoDB.
Blog on Getting started with MongoDB Atlas : Click here