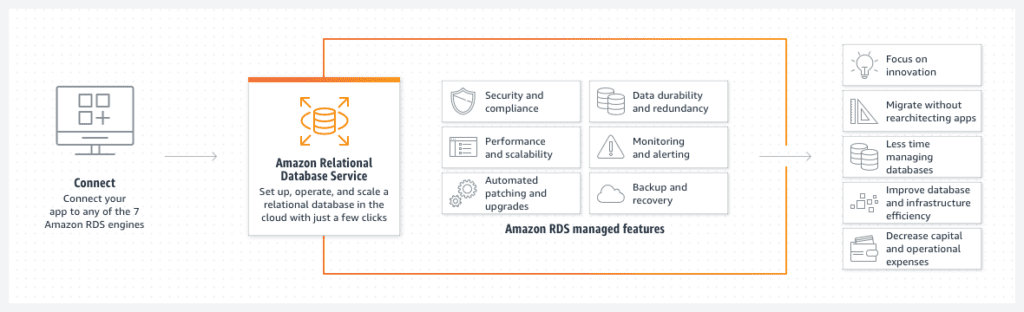
Amazon RDS (Relational Database Service) is a web service that makes it easier to set up, operate, and scale a relational database in the cloud. It supports popular relational database engines such as MySQL, PostgreSQL, Oracle, and Microsoft SQL Server.
Amazon RDS simplifies the process of deploying and managing a relational database in the cloud, and it is a popular choice for many organizations that want to leverage the benefits of cloud computing.
Advantage of using RDS versus deploying DB on EC2:
- RDS is a managed service
- Automated provisioning, OS patching
- Continuous backups and restore to specific timestamp
- Monitoring dashboards
- Read replicas for improved read performance
- Multi AZ setup for Disaster Recovery
- Maintenance windows for upgrades
- Scaling capability (vertical and horizontal)
- Storage backed by EBS (gp2 or io1)
- BUT you can’t SSH into your instances
Sqlectron is a graphical user interface (GUI) client tool for relational databases that allows users to connect to and manage various database engines, including MySQL, PostgreSQL, SQL Server, and Oracle. It is an open-source software that runs on Windows, Linux, and macOS.
Sqlectron provides a simple interface to manage databases, execute queries, and browse the data. It supports multiple connections and allows users to switch between them with ease. Sqlectron also supports features such as syntax highlighting, auto-completion, and code snippets to improve the productivity of users when writing SQL queries.
Steps to connect to an Amazon RDS instance using Sqlectron:
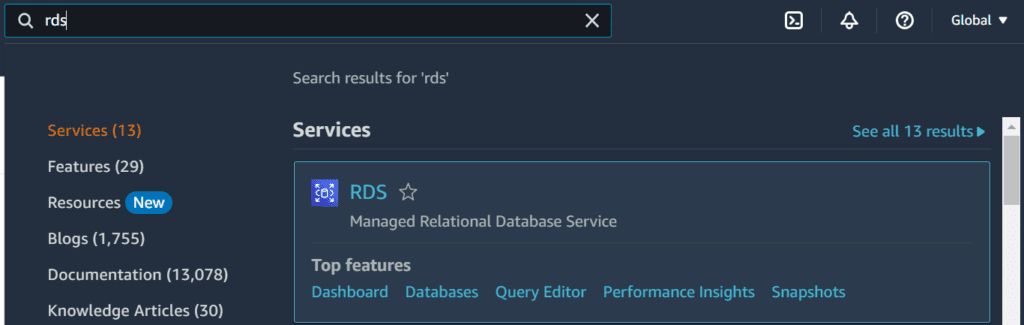
Step 1:
Login to your AWS Management Console and navigate to the RDS console.
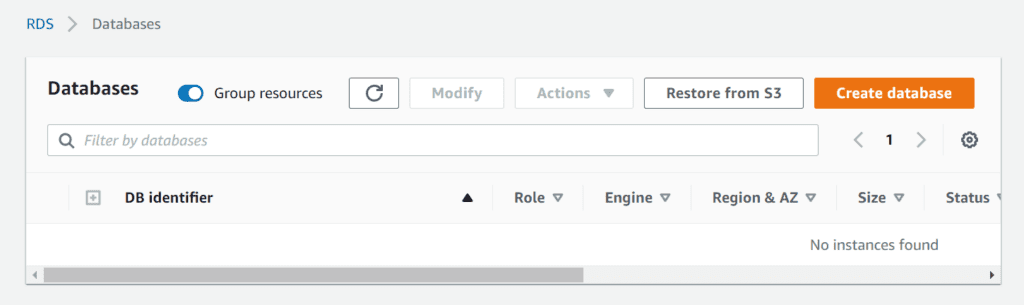
Step 2:
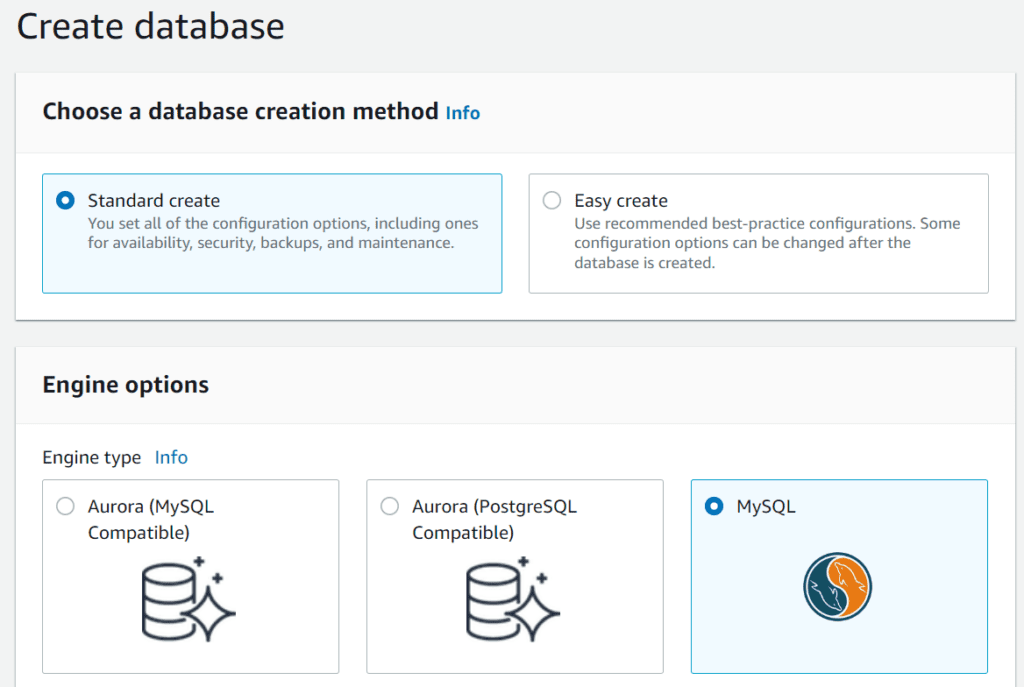
Navigate to Databases and click Create database to start the creation process.
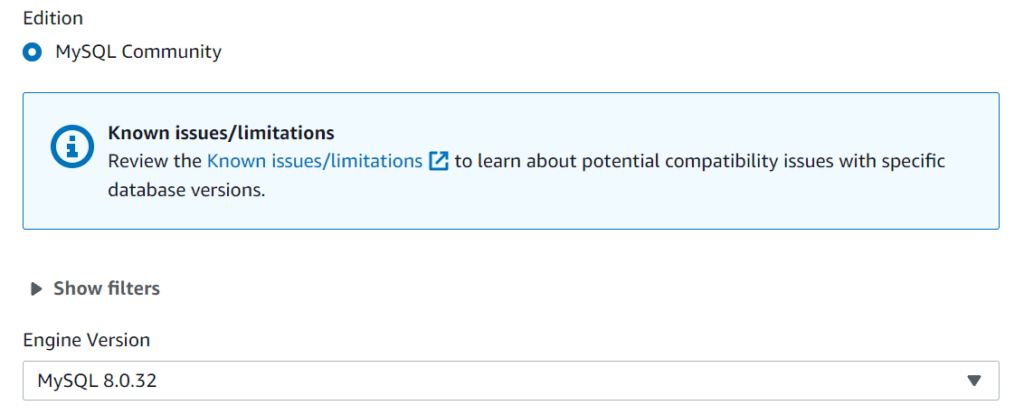
Step 3:
Choose the database engine that you want to use (e.g., MySQL, PostgreSQL, SQL Server, or Oracle) and the version that you prefer.
Step 5:
Choose the template and Select the type of deployment that you want to use (e.g., Single-AZ or Multi-AZ). To remain in free tier we will use Single DB instance.

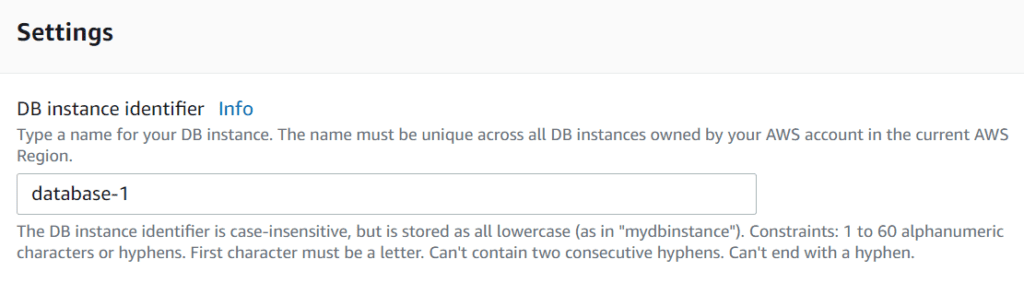
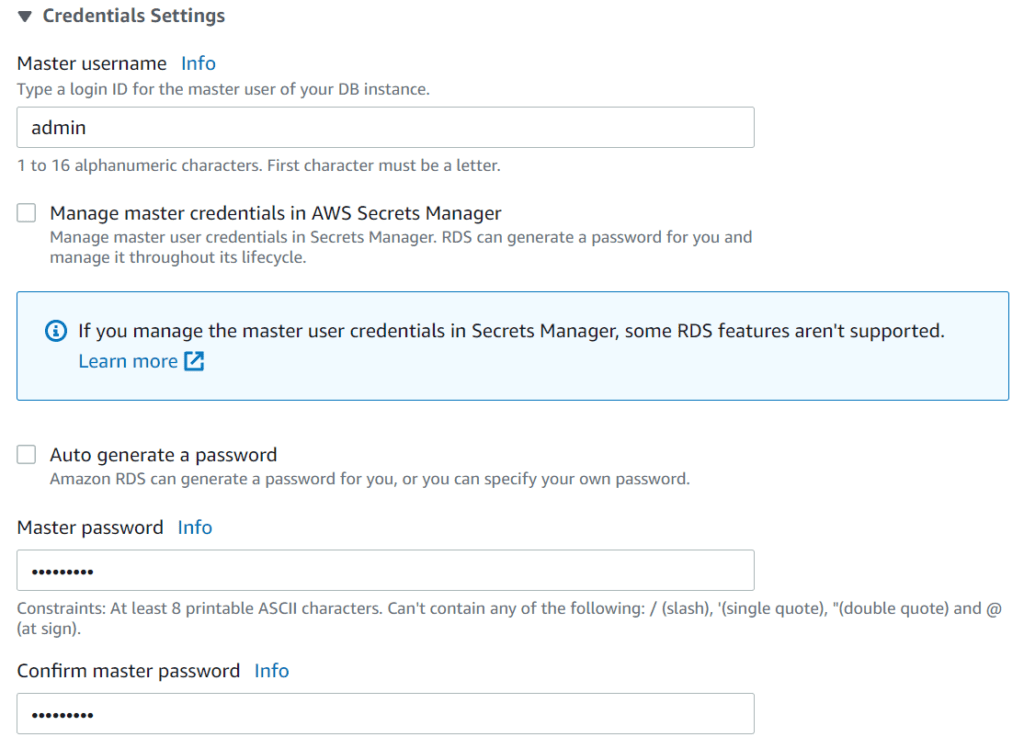
Step 6:
Enter a name for your Amazon RDS instance and provide the master username and password that you will use to connect to the database.
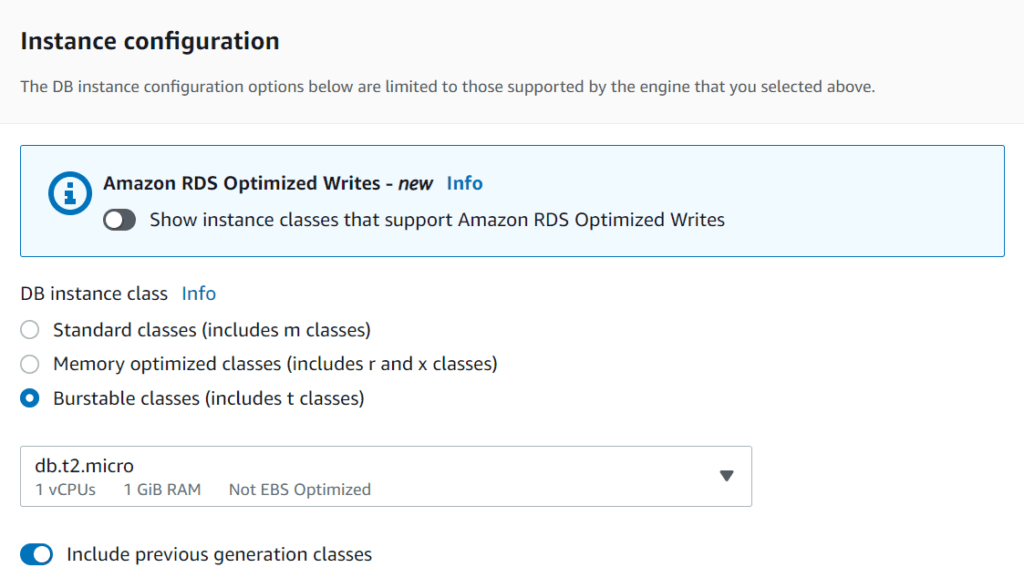
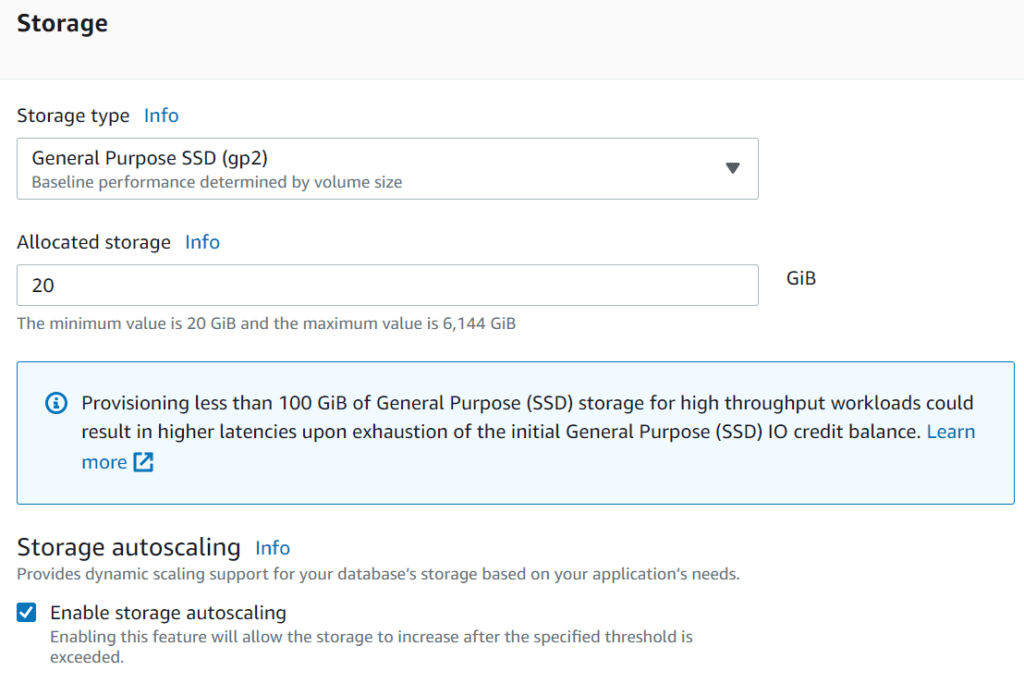
Step 7:
Configure the instance specifications, such as the instance type, storage type, and allocated storage.
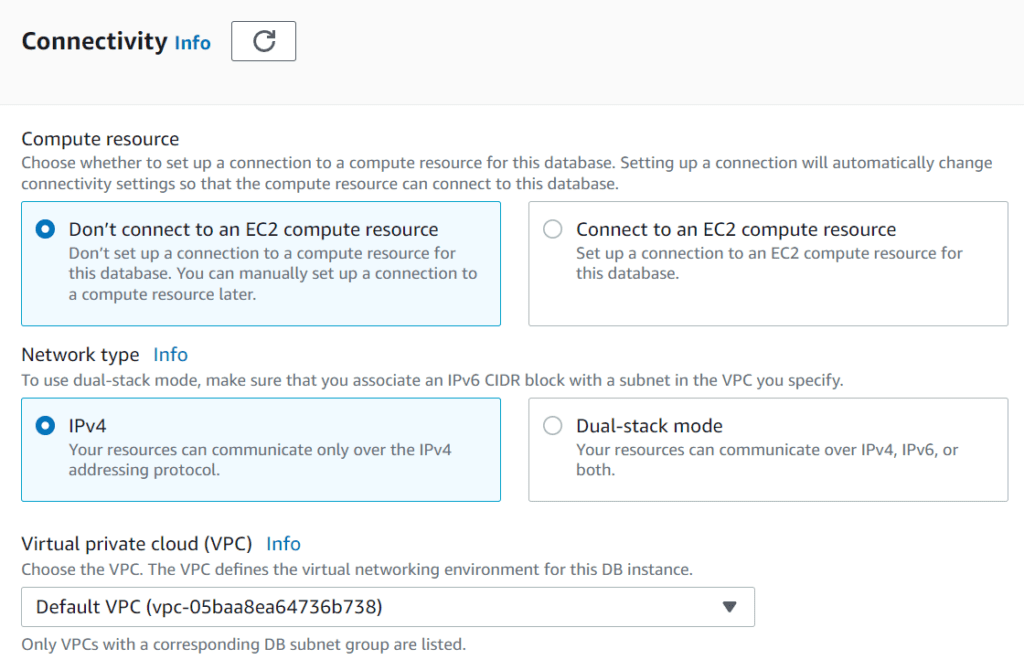
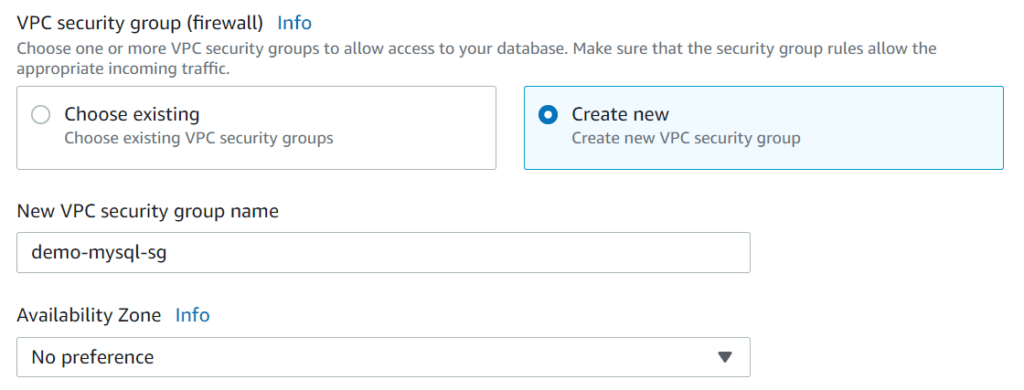
Step 8:
Configure the network and security settings, such as the VPC and subnet that you want to use, and the security group that you want to associate with your instance.

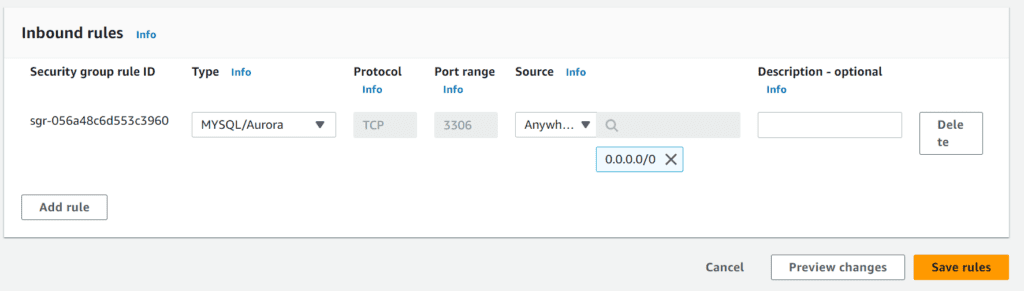
We can see that the port to connect to database is 3306

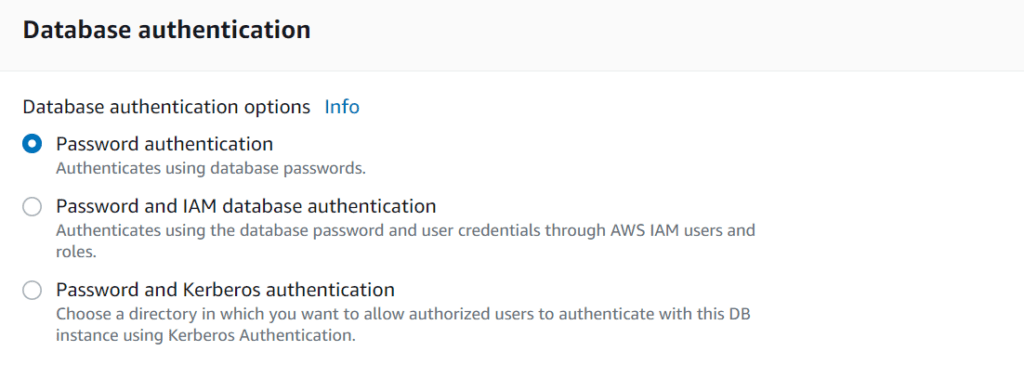
Step 9:
For Database authentication, we use Password authentication.
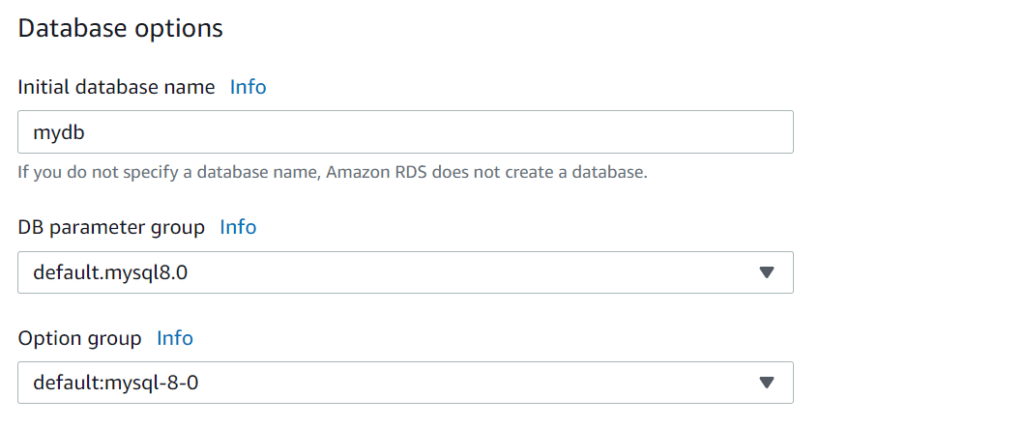
Step 10:
Disable Monitoring and in Additional configuration, name Initial database name and leave the rest as default.

Step 11:
Review the configuration details and click on the “Create database” button to launch the Amazon RDS instance. Wait for the instance to be created. The creation process can take several minutes to complete.

As you can see we have some DB cost of $14 per month even though I told you this is within the free tier. So it’s not reflected right here, but if you use a db.t2.micro type, then you will have a free tier for this even though it says here 14 US dollars.
Note: Keep in mind that the exact steps and procedures may vary depending on the specific database engine, the type of deployment, and the configurations of your AWS account. It’s recommended to follow the official documentation and best practices of the database engine and Amazon RDS service.
Step 12:
After the database is created, go to connectivity & security and click VPC security groups and edit your inbound rules to allow traffic from anywhere.
Step 13:
To connect to an Amazon RDS instance using Sqlectron, download and install Sqlectron from its official website: https://sqlectron.github.io/
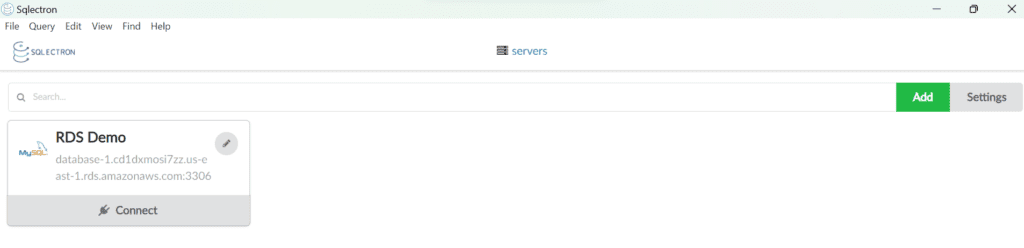
Open Sqlectron and click on the “Add” button on the top right corner.

Step 14:
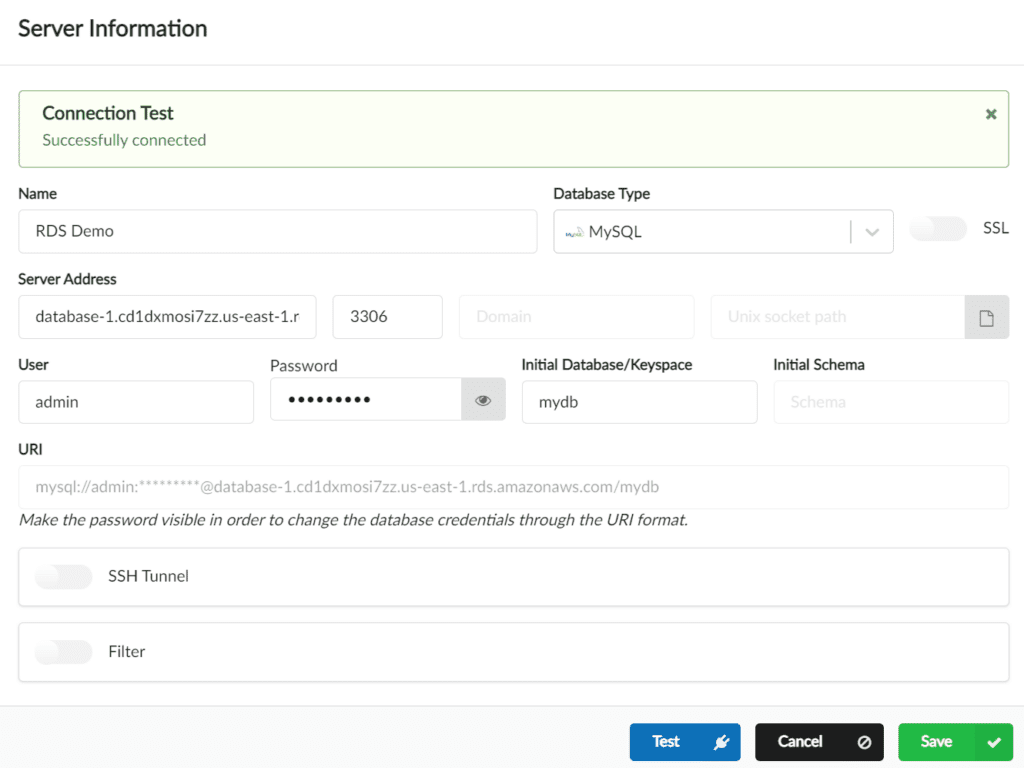
Select your database engine type (e.g., MySQL, PostgreSQL, SQL Server, or Oracle) and enter the following information:
- Name: A name that identifies your connection
- Server Address: The endpoint of your Amazon RDS instance
- Port: The port number of your database engine (e.g., 3306 for MySQL, 5432 for PostgreSQL, 1433 for SQL Server, or 1521 for Oracle)
- User: The username that you want to use to connect to your database
- Password: The password that you want to use to authenticate the user
- Initial Database/Keyspace
Click on the “Test connection” button to check if the connection is successful. If the connection is successful, Sqlectron will display a message indicating that the connection was established.
Click on the “Save” button to save your connection settings.
Step 15:
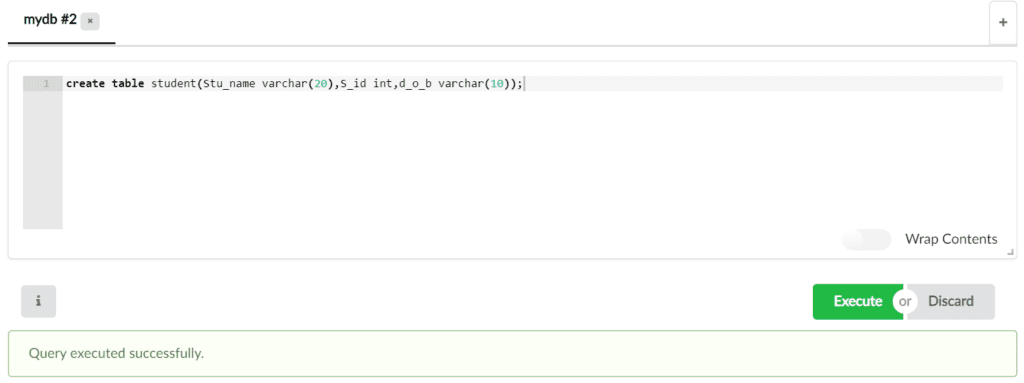
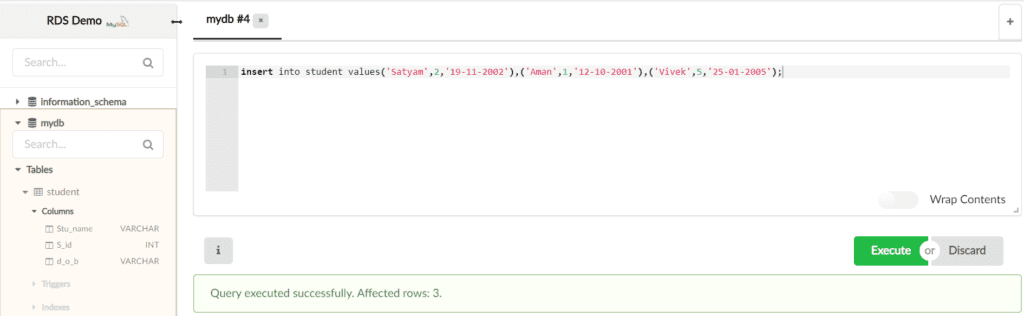
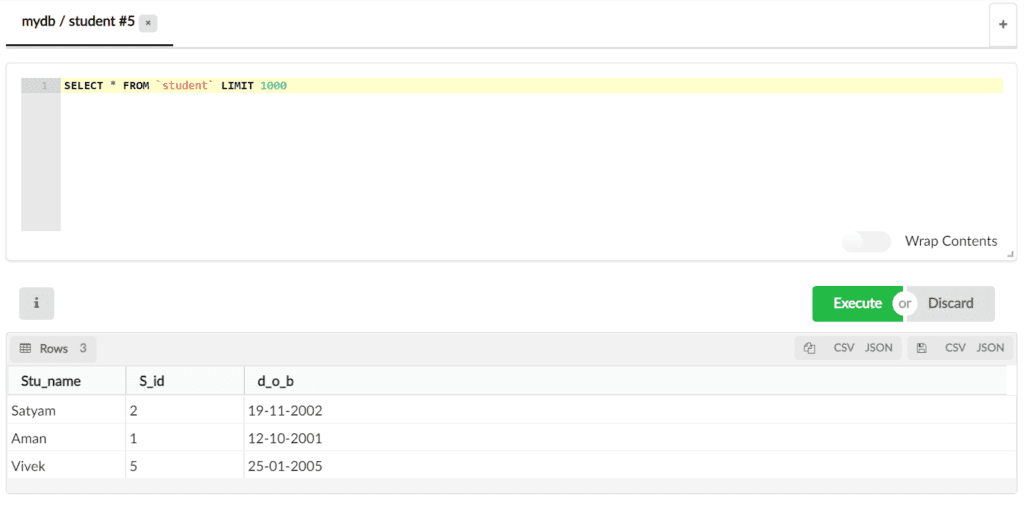
Click on Connect to open a new tab with a query editor that you can use to run SQL queries against your database.
Overall, Amazon RDS and Sqlectron provide a powerful and versatile combination for managing relational databases in the cloud, allowing users to focus on their applications and business logic, rather than on infrastructure management.
Check out my article: https://satyam-arya.click/deploy-static-website-on-docker-with-ec2/